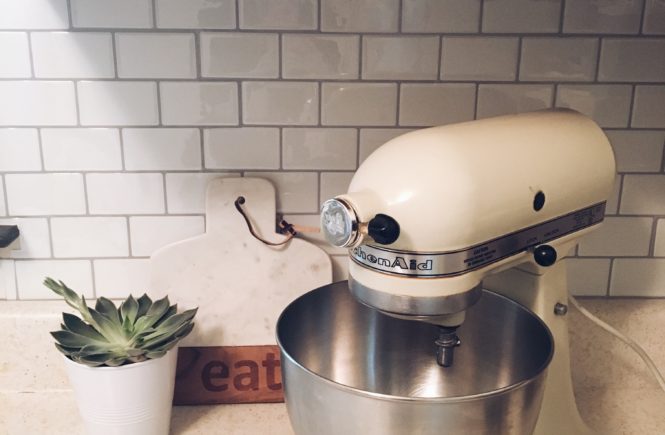
As you all know – I am all about budget makeovers in my home. So when I redid my entire kitchen for under $500..I knew I had to share. But even more so than budget, I like simple and easy [I mean who doesn’t?] so when I decided to add backsplash to my fabulously 1970’s kitchen, I knew I wasn’t going to shell out the money on tile and labor. That’s when I discovered the magic of Tic Tac Tiles!
The past few years I’ve been dreaming about a subway tile backsplash. That might sounds pretty basic, but Subway tile is amazing for so many reasons. First, it’s completely versatile! It goes with all styles: modern farmhouse, vintage, contemporary, eclectic..just to name a few. It’s kind of all encompassing, so I knew even if my style changed over the years, Subway tile was the way to go! Secondly, it looks clean and simple, which is what I’m all about. I like my colors and patterns in my textiles and dinnerware (let’s be honest..my mugs) so I kept it simple on backsplash.
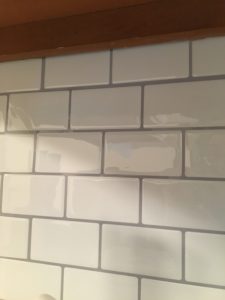
If you are lost on what Tic Tac Tiles are…let me fill you in. They are peel and stick wall tiles that come in pre-sized sheets of 10″x10″ or 12″x12″. I know what you’re thinking..tacky, cheap, and unsanitary. That’s what I was thinking too when I thought about putting vinyl on my kitchen wall (I mean..I’m trying to move AWAY from the 1970’s) , but I did my research and was thoroughly impressed! They are thick, realistic looking, and when they are up you really can’t tell the difference between real ceramic and vinyl tile. Literally all I did was wipe my wall down with all purpose cleanser and stick these babies up! They can also go over existing (smooth) backsplash if you had some you want to cover up.
Tic Tac Tiles are:
- Anti-mold & anti-bacterial
- Heat & Humidity resistant
- Easy to cut (I used scissors!)
- Eco friendly (made of non-toxic material)
- removable with a hairdryer (won’t damage walls…rental property perk!)
- Save time and money – no labor costs
If Subway tile isn’t your thing – no worries, they have 40 tile options!
(If you want the official installation guide – click here) Word of caution – if you have outlets or other obstacle to cut around, measure twice & cut once! I didn’t take this advice and had to order another pack because I messed a few up – but that’s because I’m impatient. If you want to finish off the edges, you can buy white caulking and seal it in. This will give it a complete and polished look.
Time it took total:
- 2 hours
Level of Difficulty:
- beginner
I’ll check back in with y’all in a few months for an update on how they are holding up! I’m just as curious as you!
Want to see how my whole kitchen turned out? Click here!
[wpforms id=”57″ title=”true” description=”true”]
*Disclosure: This post contains some affiliate links, meaning at no additional cost to you if you click through and make a purchase, I will earn commission. The opinions are completely my own, and I only refer to products that I absolutely love and have tested*




1 Comment