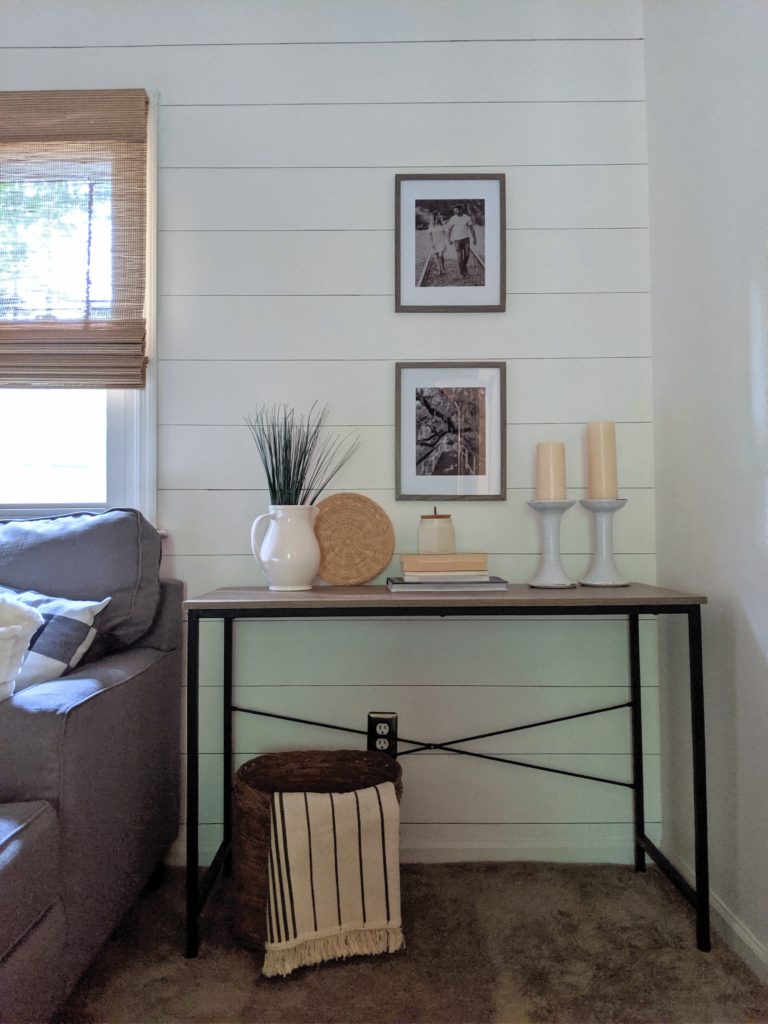
When you think of a Shiplap, Sharpie is probably not the first thing to come to mind! However, this faux Sharpie Shiplap wall is seriously my new obsession.
Budget options
I wanted to do something visually interesting to my wall, but it had to meet two criteria: be simple and be very inexpensive. This ultimately ruled out a shiplap wall, however my heart was still intent on it, so I started brainstorming.
A follower of mine on Instagram messaged me a few weeks ago asking me if i’ve heard of Sharpie wall designs. Apparently it’s a new thing and stenciling with a permanent marker is in..I was unamused. Until I realized I could do this with shiplap. A quick Pinterest search showed me that other home DIY’er had done this! There were a few tutorials out there, but nothing real simple, so I just winged it. Now I have a SUPER simple tutorial for you!
Instructions for DIY faux Sharpie Shiplap wall:


Items needed:
– Oil Pen Black Sharpie in medium tip
– Level
– Straight edge (ruler or yardstick work)
– Tape measure
– Pencil
I started by measuring from the top of the wall down, marking with pencil every 7 inches. I did this every 12″ horizontally across the wall. (however if you have a long level or yard stick you can do every 24″ across)
I then started at the top again and lined up my ruler and level with the measurement marks. I lightly traced a line across the wall. I did this until I had all my pencil lines across the entire wall.

I went back with the Sharpie and ruler and traced over the pencil, line by line. Don’t be afraid to make the lines thick, and go slow and steady. Traditional shiplap gaps are the size of a nickels edge, and if you press on the marker tip slow and even, it ends up being that size!
It’s that simple.
The beauty of this DIY is that if you mess up the Sharpie Shiplap wall, you simple just paint over the blemish and redo it. It cost me a total of $3 (for the Sharpie marker!).

Want to see the whole living room reveal with the Faux Shiplap wall? Check it out here!
