
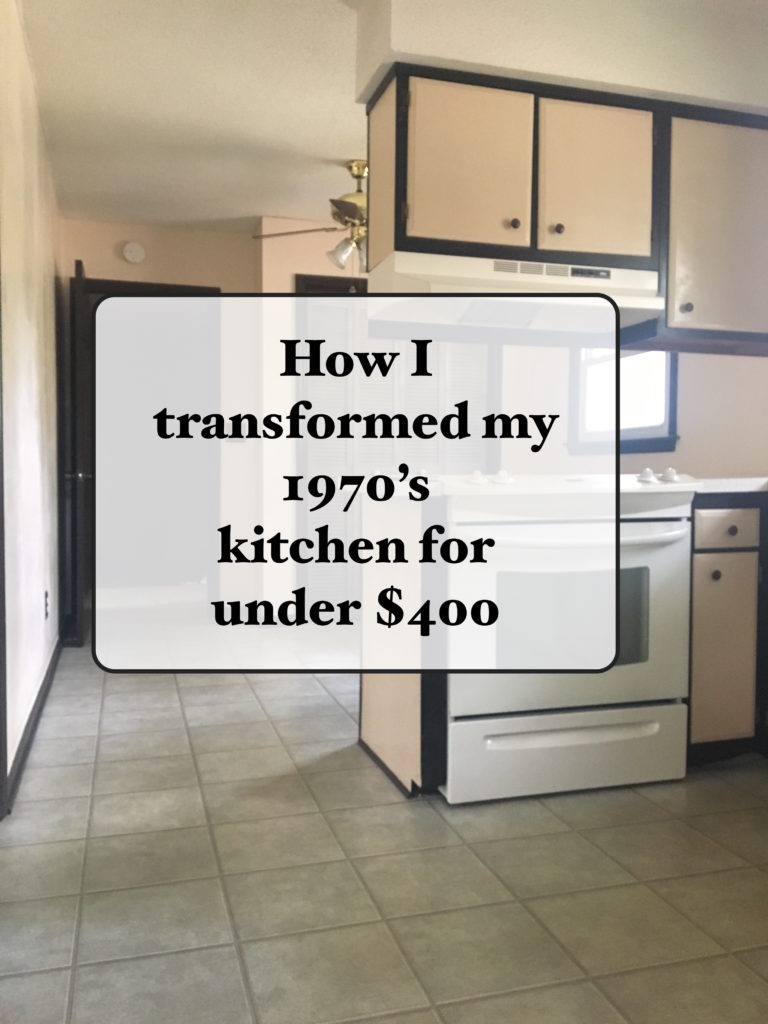
I wish I could sum it up in a sentence, the journey of my kitchen. I’ll start with prefacing that this is my first house! My boyfriend and I bought a home in the suburbs of Raleigh, and in my own words, it is fabulously 1970’s.
When we first walked through at the showing, I fell in love. Was it the original walnut wood moldings everywhere or the wood paneling in the basement..or the so-yellow-they-are-pink tiles in the master bathroom you may ask? It was none of those – actually I didn’t even notice all of that when I walked through the home. I noticed the layout, how much light flooded every room, and the gorgeous moss-covered backyard! I am an interior designer after all..any cosmetic issues in the home didn’t even phase me. If you know me, you know I always bite off more than I can chew, it’s kinda my thing. So the kitchen was no exception.
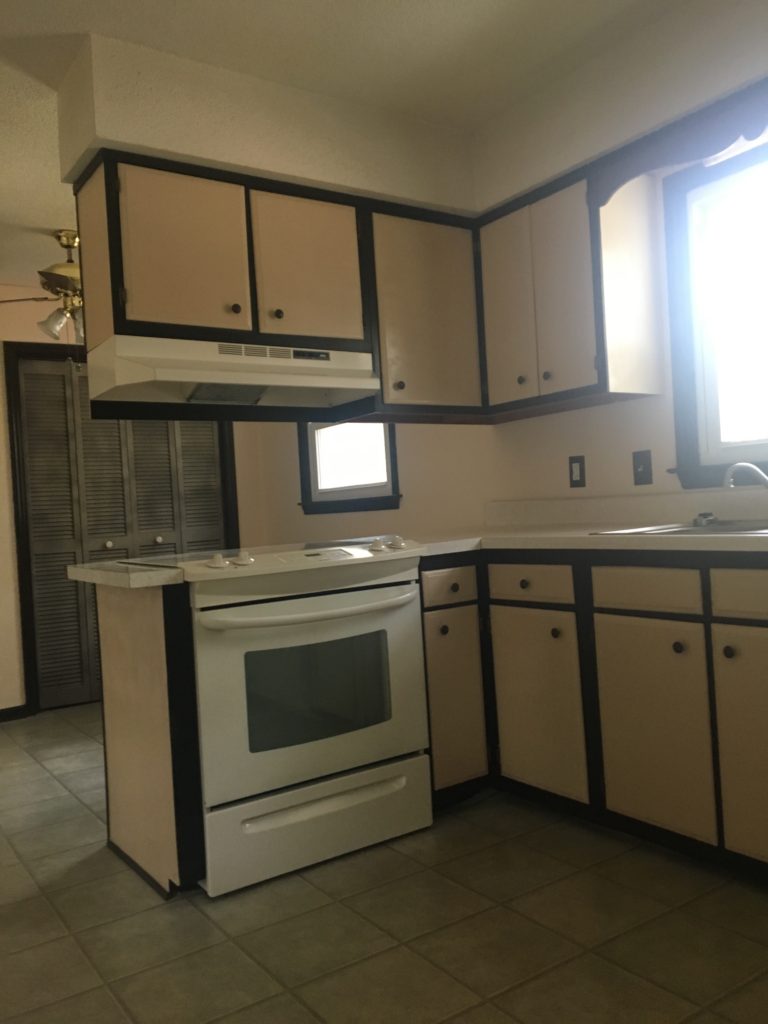
Oh..the kitchen! The cabinets were two-toned..and not the trendy kind you are imagining. The cream and brown paint that covered the cabinets made me want to shower immediately…but I also knew this was the first room that needed my love. Another thing I knew – being only 2 years of out college, and this being my first house, my budget was gloriously tiny. At work, I had won $300 in Amazon gift cards, so I decided that those gift cards, plus another $100 would be what i’d work with. I honestly didn’t know if I could do it for under $400 but there wasn’t really an option to expand the budget, and it sure wasn’t an option to keep the puke-esque colored kitchen the way it was. No ma’am.
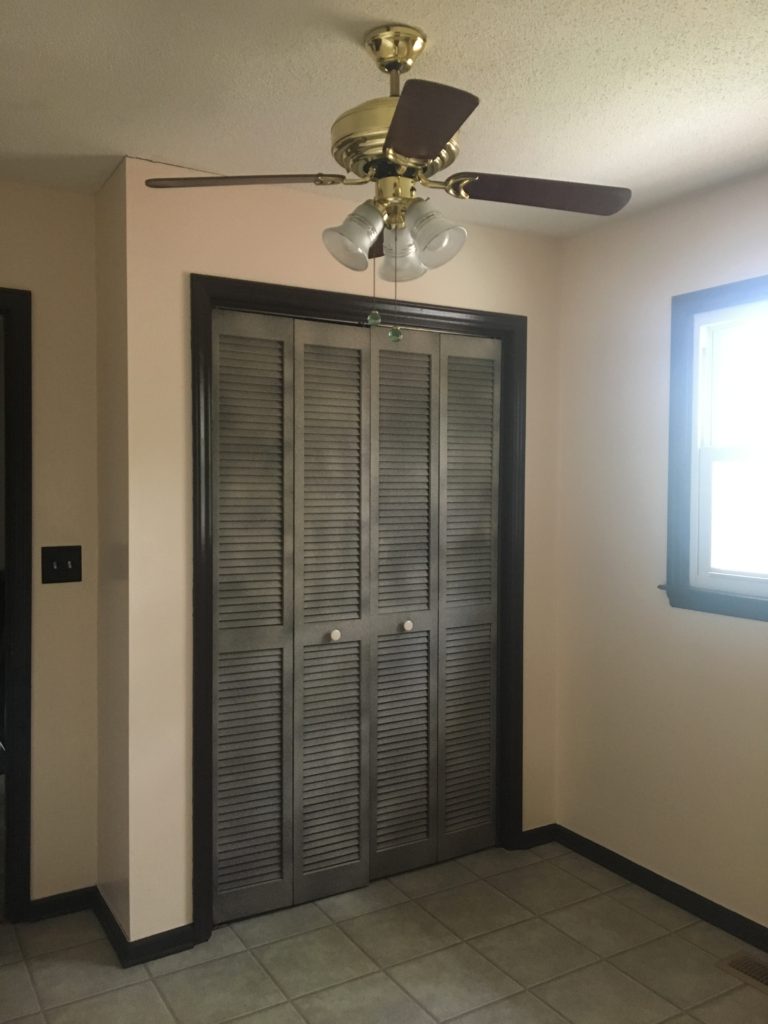
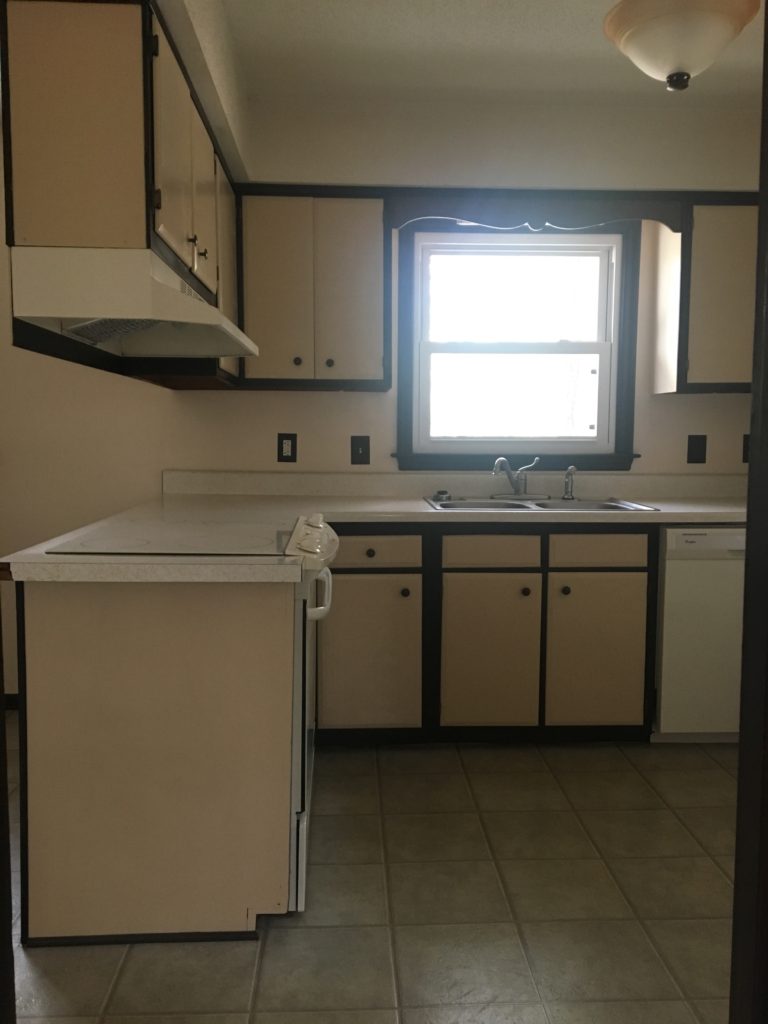
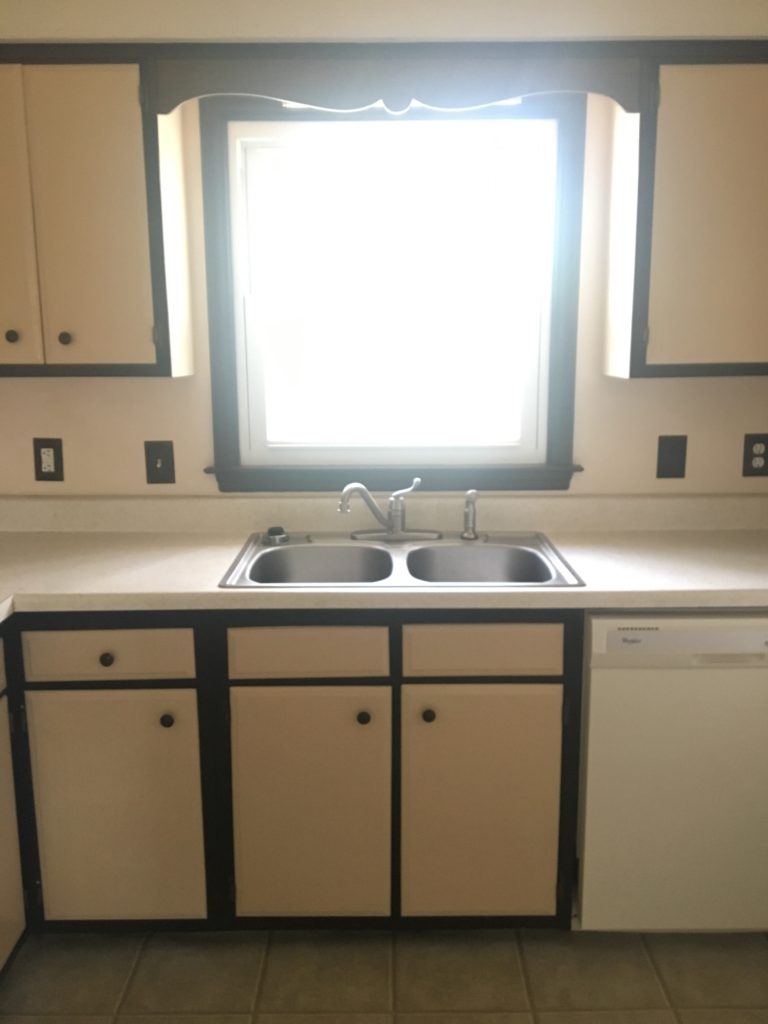
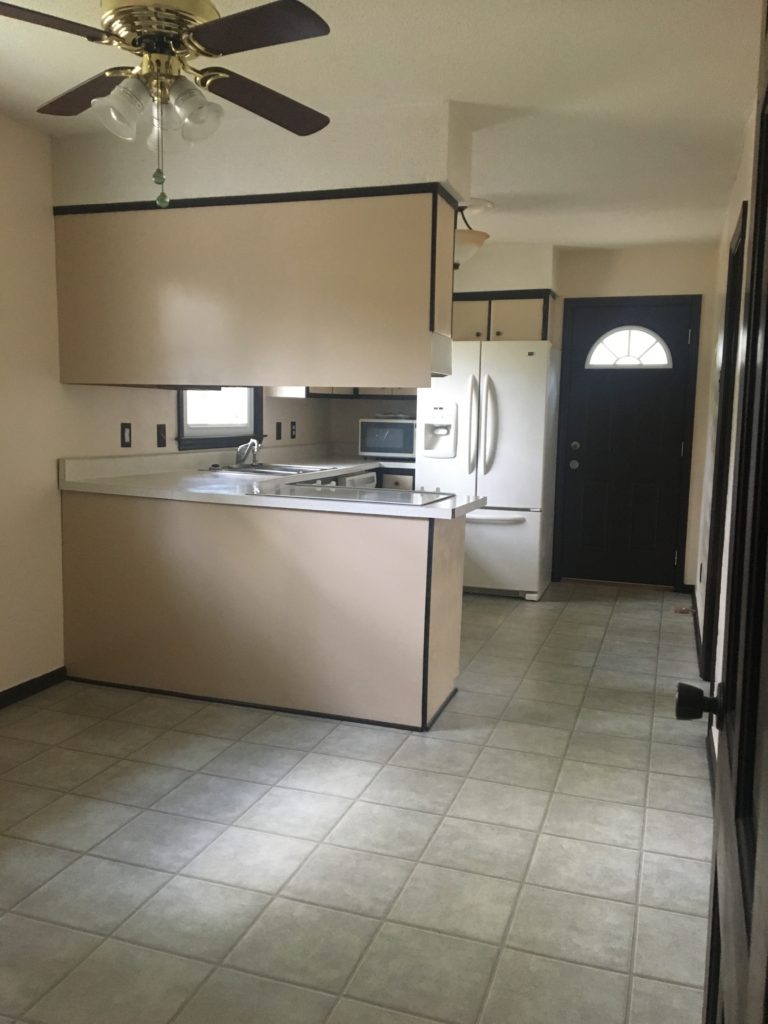
Let me show you what we were working with.
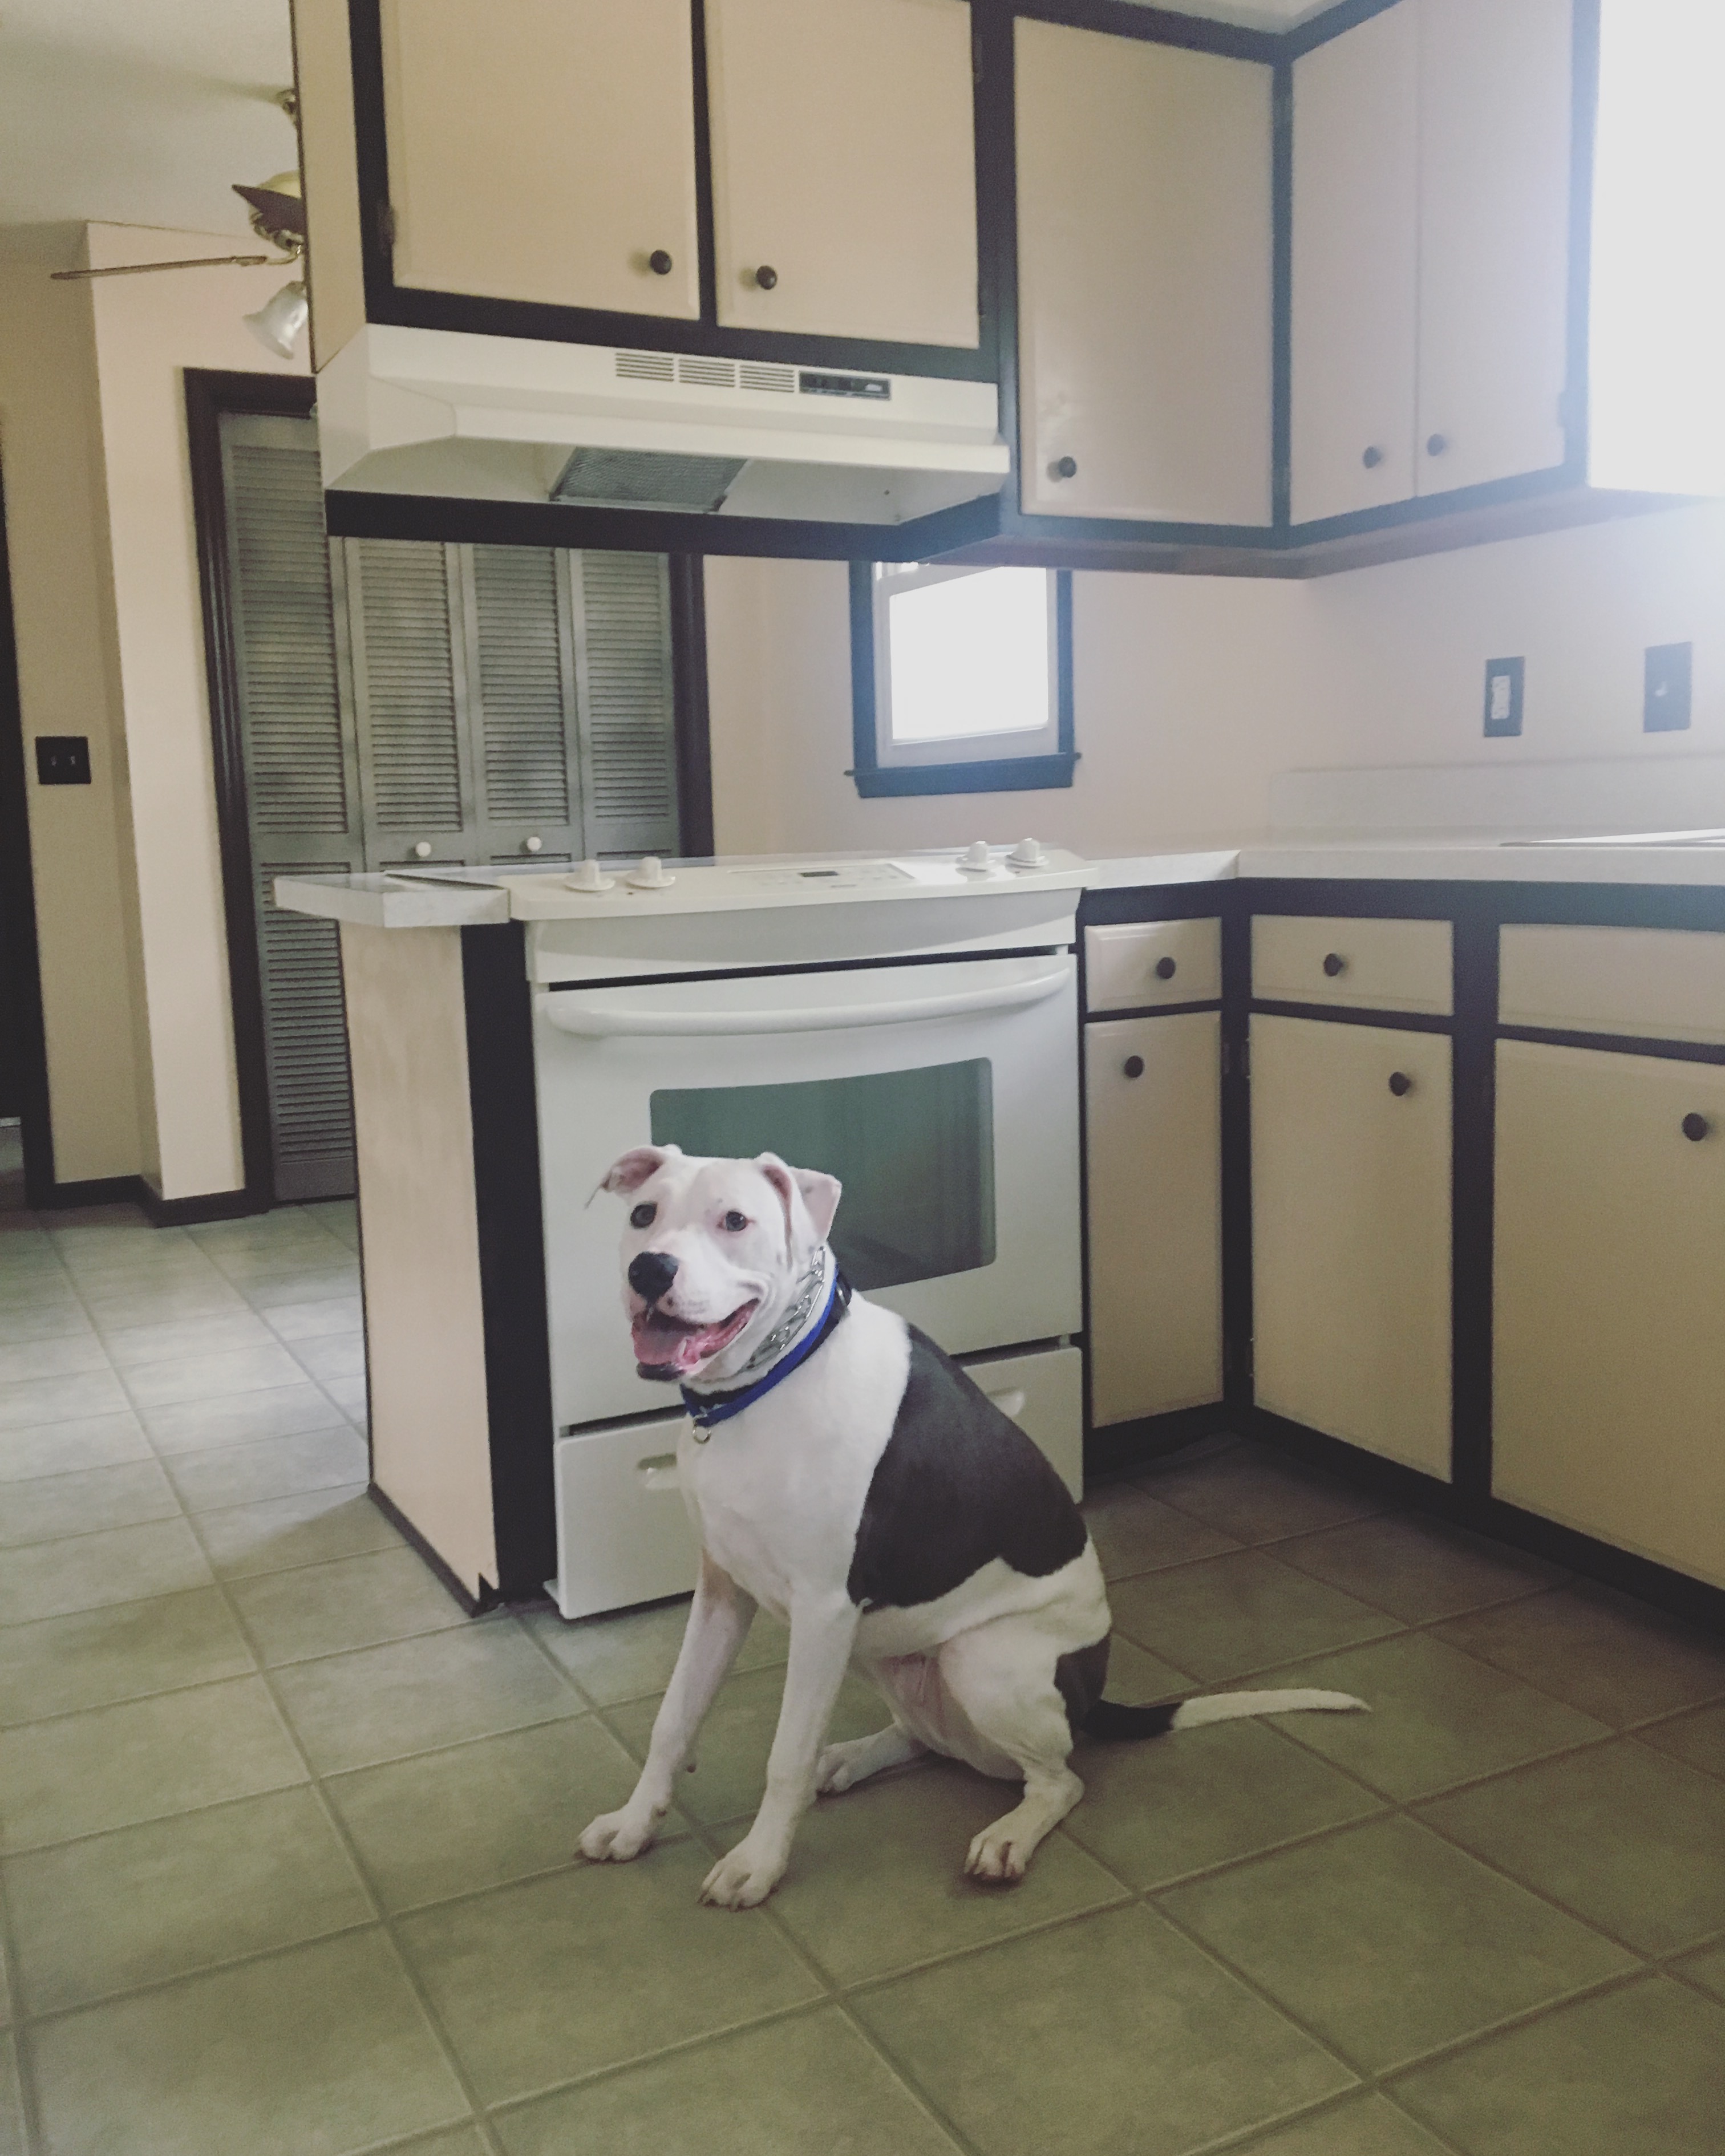
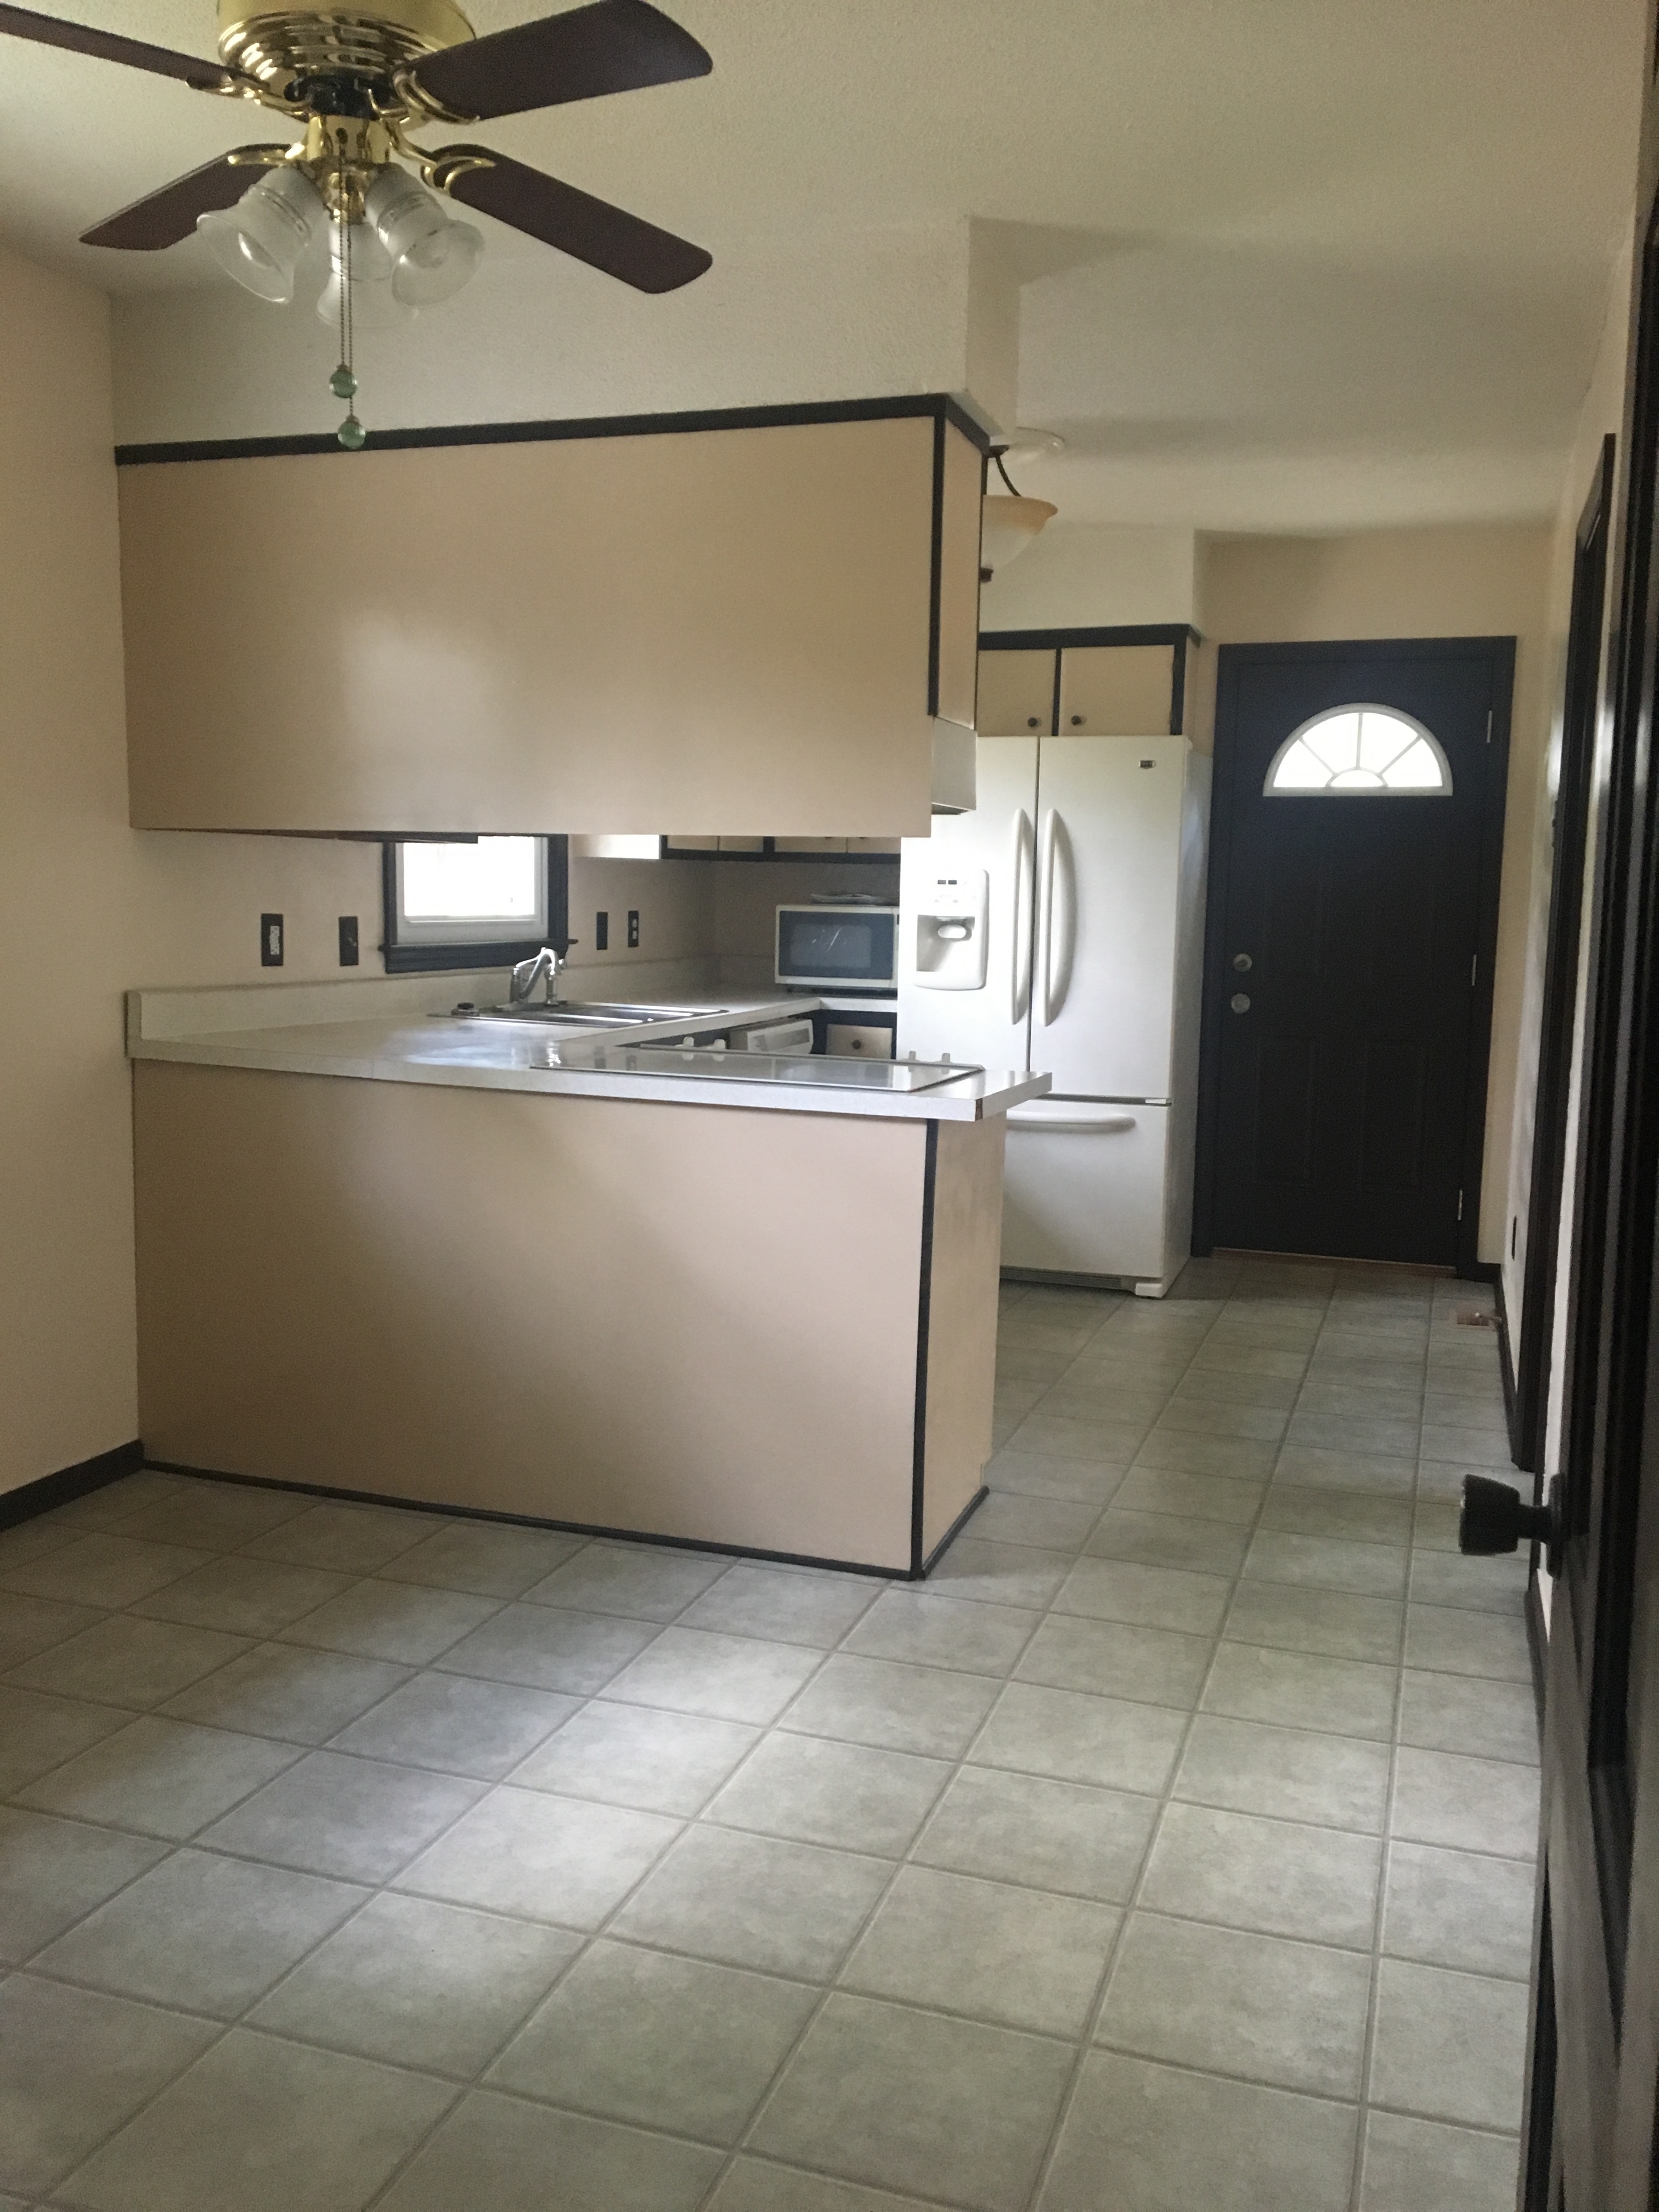

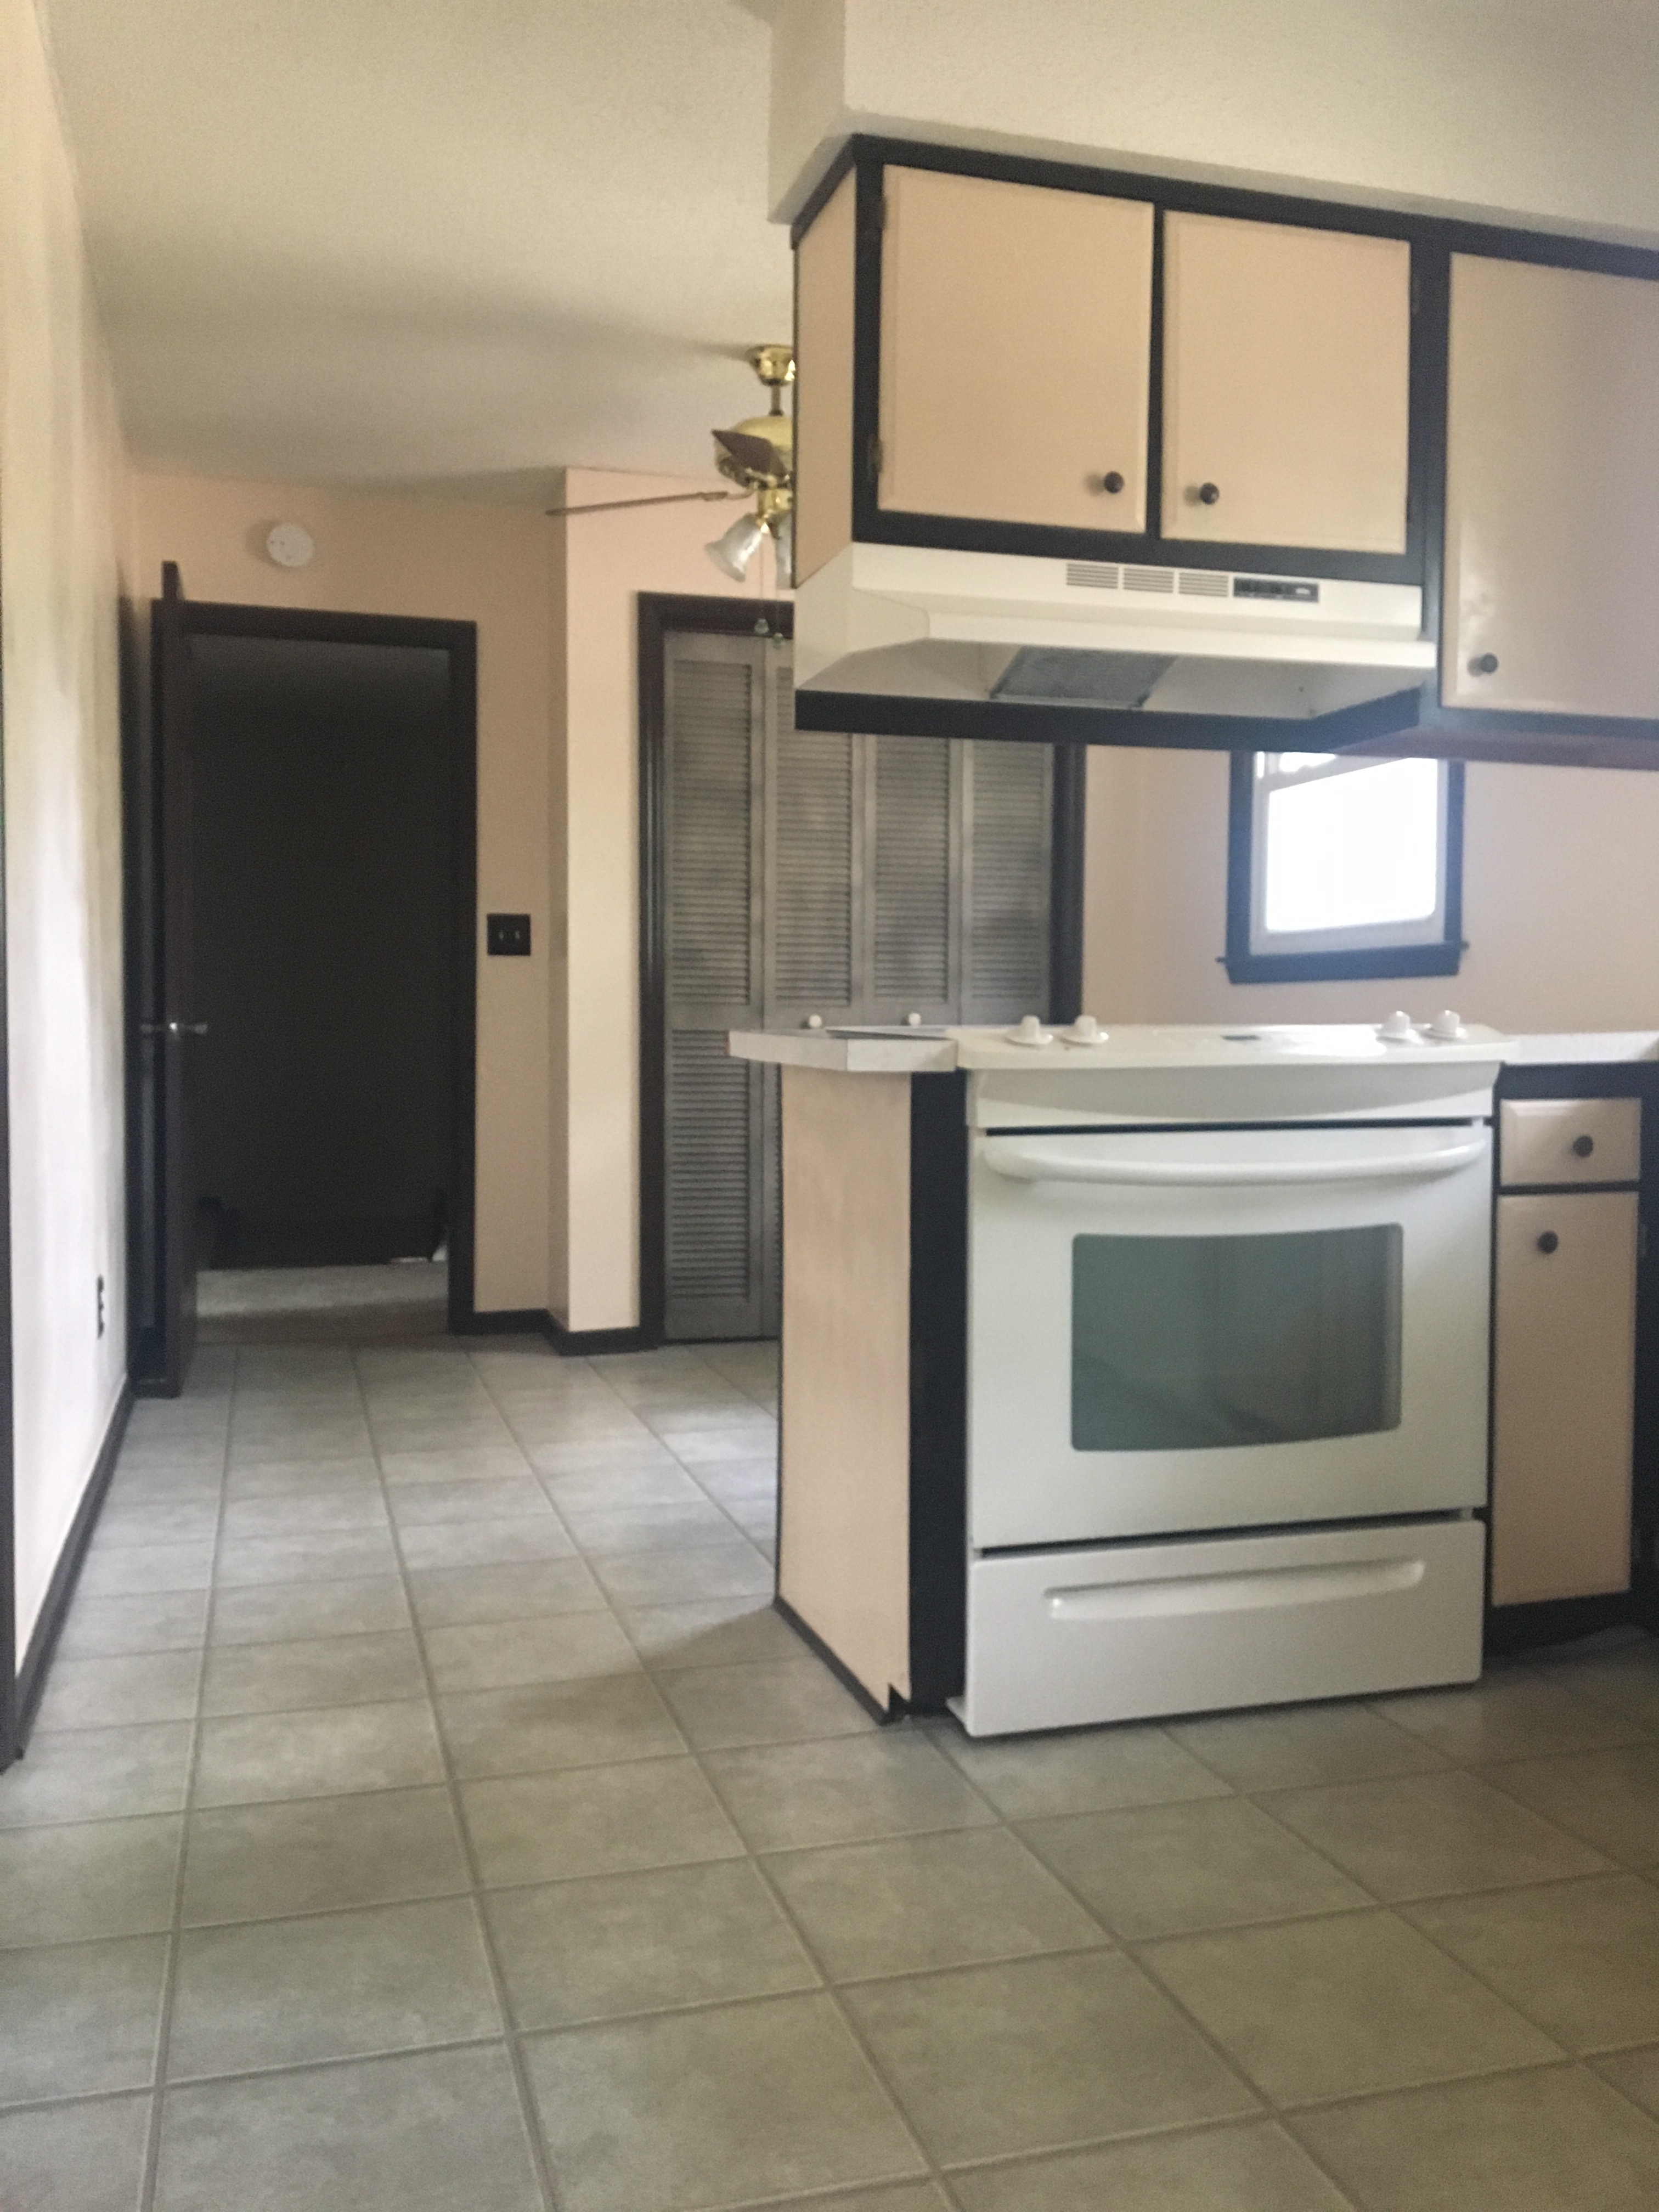

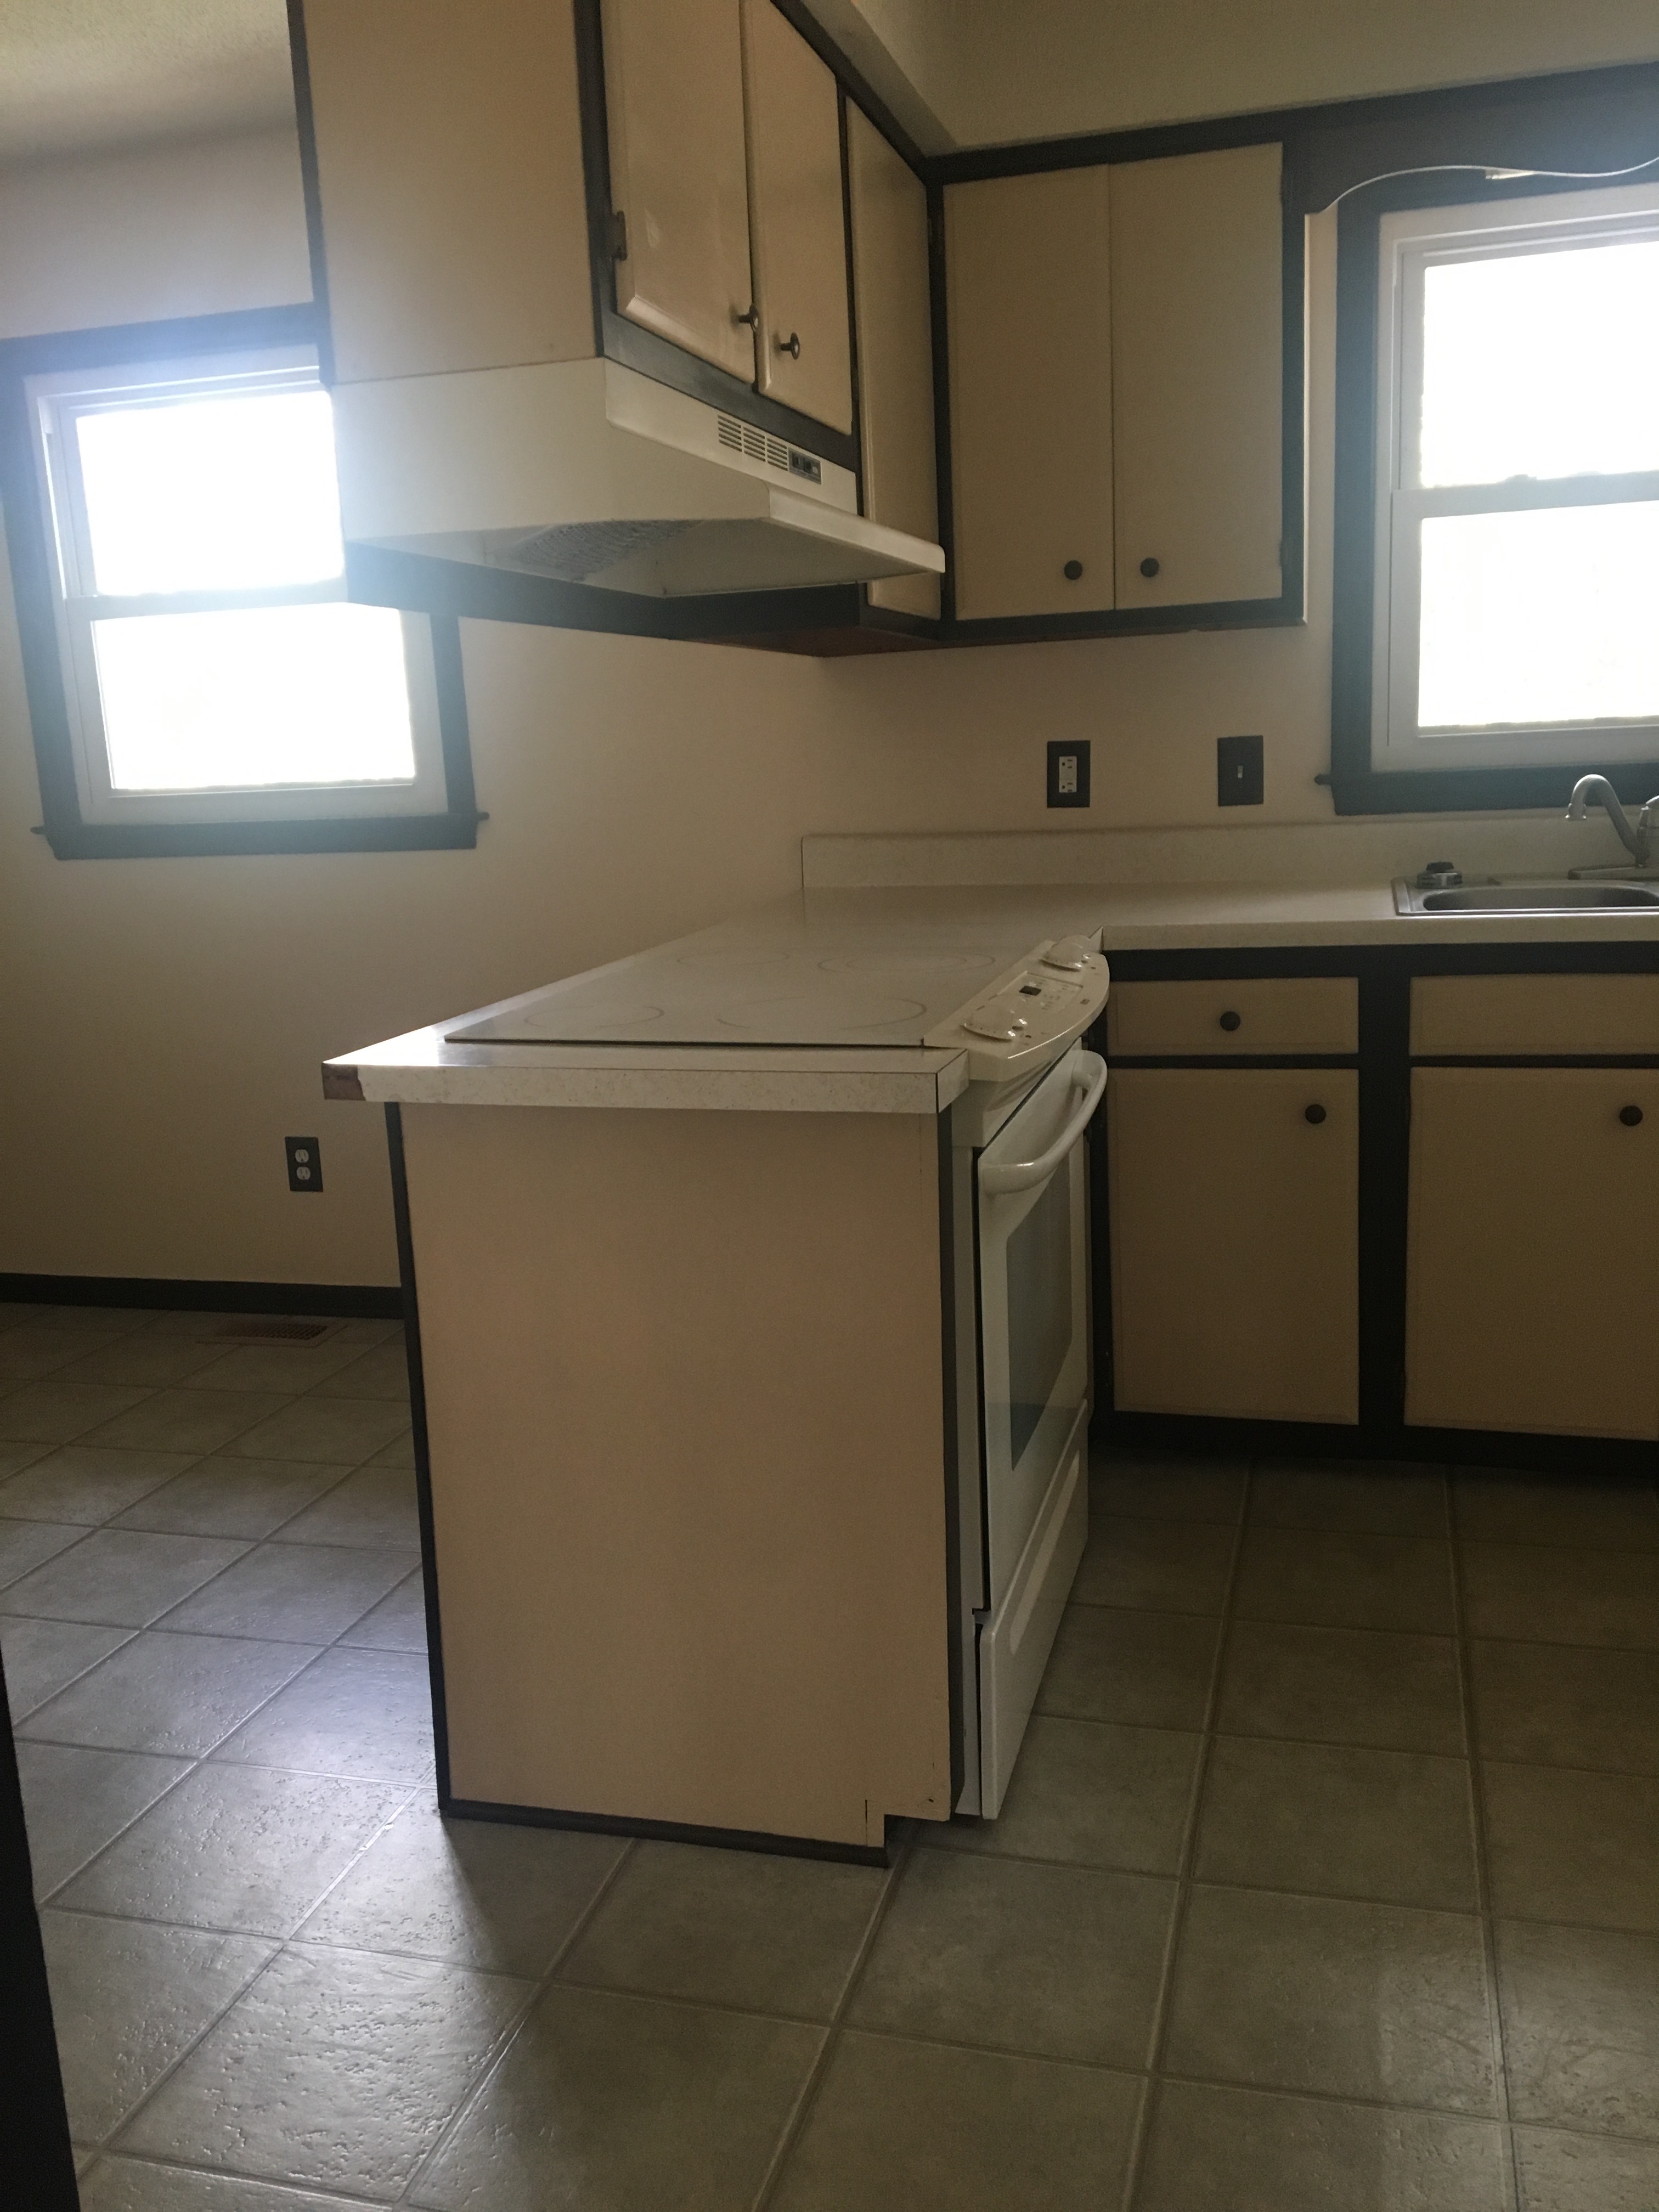
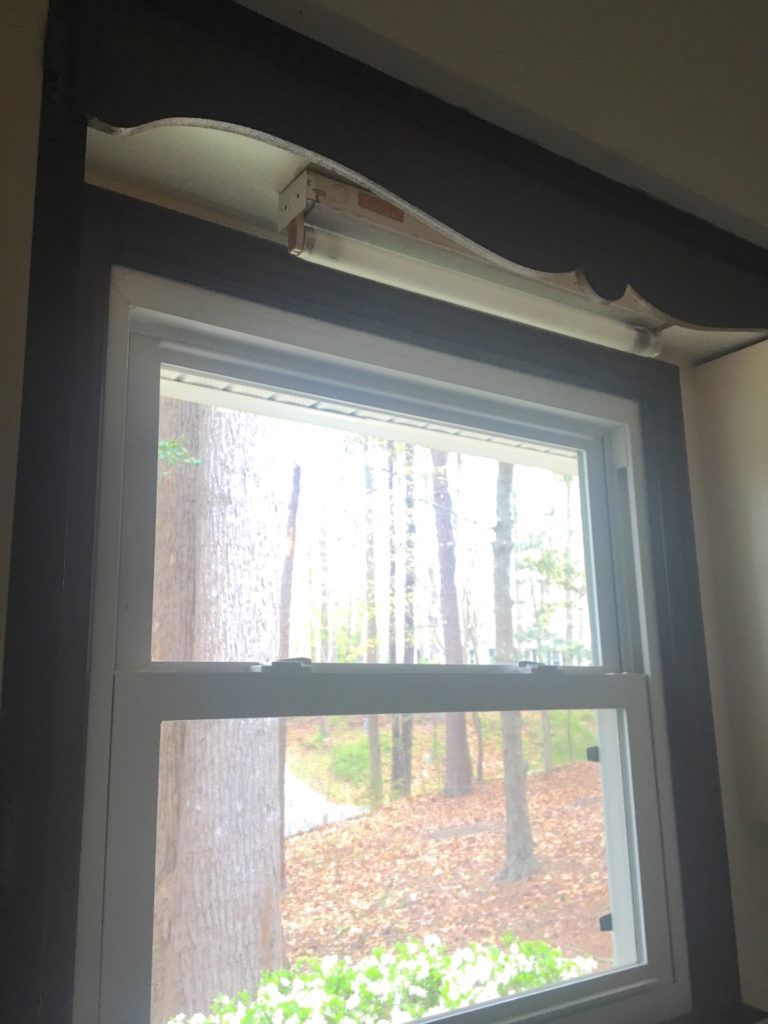
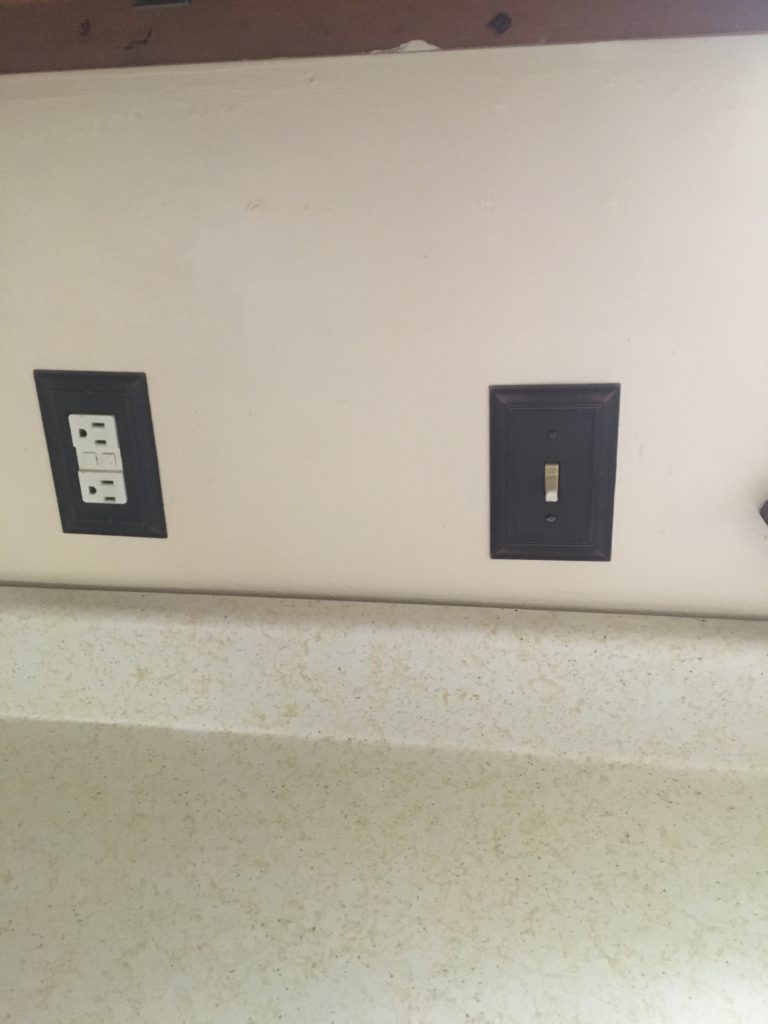
As soon as I was in this kitchen, my wheels started turning. I knew it needed brightened up. There is a beautiful window over the sink that over looks the front yard, which was the best part of this kitchen, and I wanted to emphasize that. The counter tops are a creamy white laminate with gold flecks in it, and reminded me of a vintage makeup counter, but none the less, I knew if I painted the cabinets and actually added gold touches, the counter tops wouldn’t stick out like a sore thumb. My trick for budget makeovers is to play up something you hate but can’t afford to change – like the counter tops for me. I designed around them, and now they don’t bother me at all!
It’s not always easy for me to redo my own home, because 1) I am a deal finder, so I like to find everything for a steal, which takes time. Patience is a virtue, and I’ll be the first to admit, I have none. And 2) I can whip up a design for my clients in no time, but when it comes to my own house, I spiral. I love a lot of styles, so my house is pretty eclectic. Once I decided to just run with the eclectic look, things came together! I can also say, this kitchen is totally me.
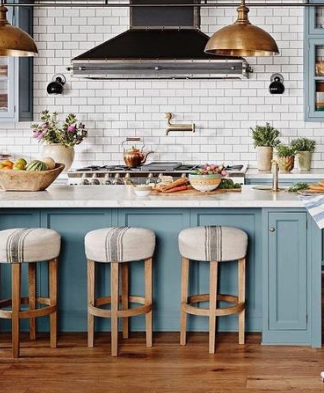
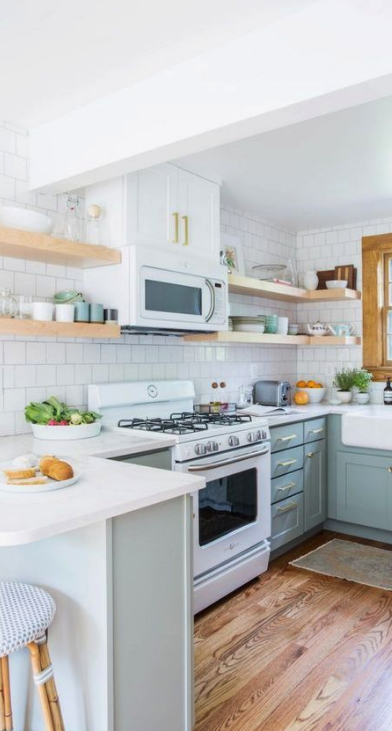
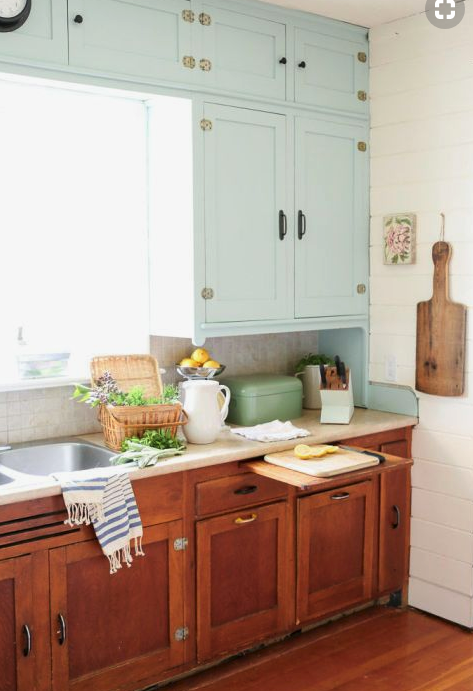
My kitchen inspiration.
I knew I wanted white cabinets, because this space desperately needed brightened up, but I also wanted color. I’d been crushing on Farrow & Balls Pigeon color for quite some time. At nearly $70 a gallon though, I had to find an alternative, so I colored matched at Sherwin Williams, and ended up with Halcyon Green [which was even lovelier to me.] The house was built in 1974, and I didn’t want to get rid of all the character of that groovy decade, which is why I chose such a bold cabinet color! I wanted to add back in some vintage touches, and have always loved brushed brass, so decided to keep the brushed brass in the space. I also have always loved subway tile backsplash, because it goes with everything – every color, style and time period. Here are a few images from my Pinterest that sparked my design heart and were my initial inspiration for my own space!
The demo work.
I had never painted kitchen cabinets before, so trust me when I say I did hours of research. The last thing I wanted was to put a ton of time into this remodel, only to end up worse off at the end with a bad paint job! Since I’m lazy when it comes to sanding..well okay not lazy but impatient..I wanted to be able to JUST prime and paint. That’s why I went with Gallon Bulls Eye® 1-2-3 Primer Sealer . It cut my time in half! I primed all the cabinets with it, including the trim. It sealed the existing paint in, and covered the yucky brown in one coat, which was important to me. Because who wants to paint one cabinet 10 times? So just after 24 hours, I started painting with my actual colored paint. By painting my cabinets and doing all this work myself (okay my boyfriend helped A TON) I saved so much money. It’s not as scary as it sounds you guys..if I can do it, so can you!
A tip from yours truly: use painters tape to mark each inside cabinet with a number..and make sure it makes sense. Where did I waste time you may ask? I labeled some cabinets with numbers and some with letters [face-palm] so we accidentally painted some lower cabinet doors with the upper cabinet color. Let me save you the pain – label right the first time!
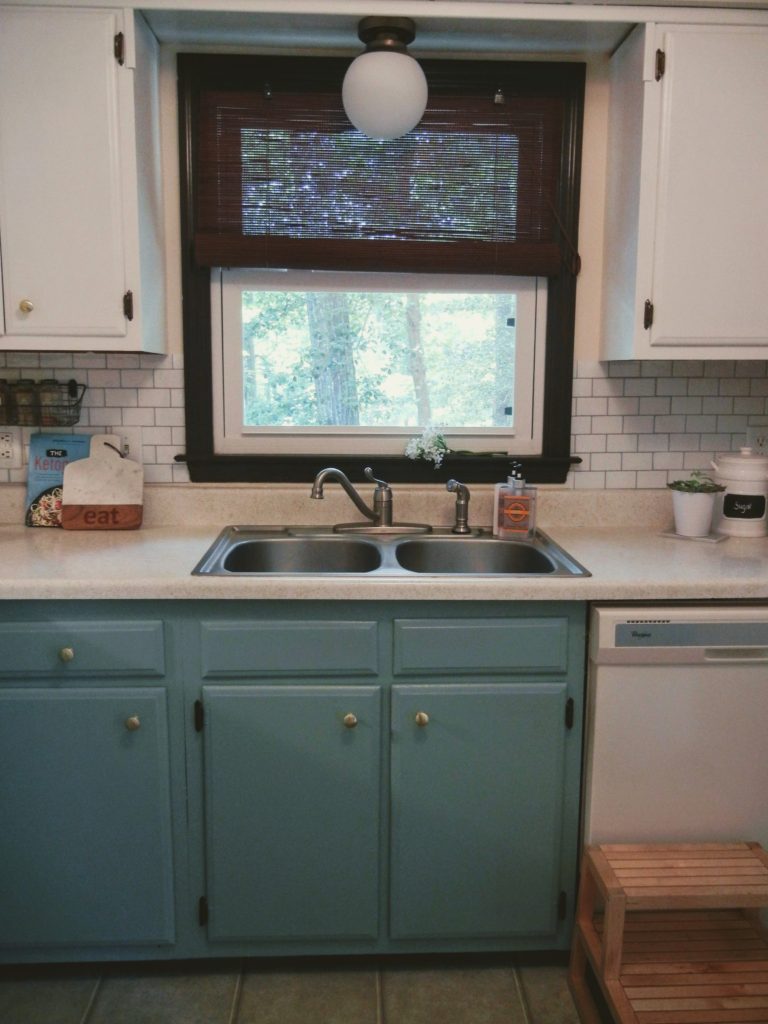
I also ripped out the decorative wooden trim above the sink – taking this down automatically updated this area.
Let’s talk colors!
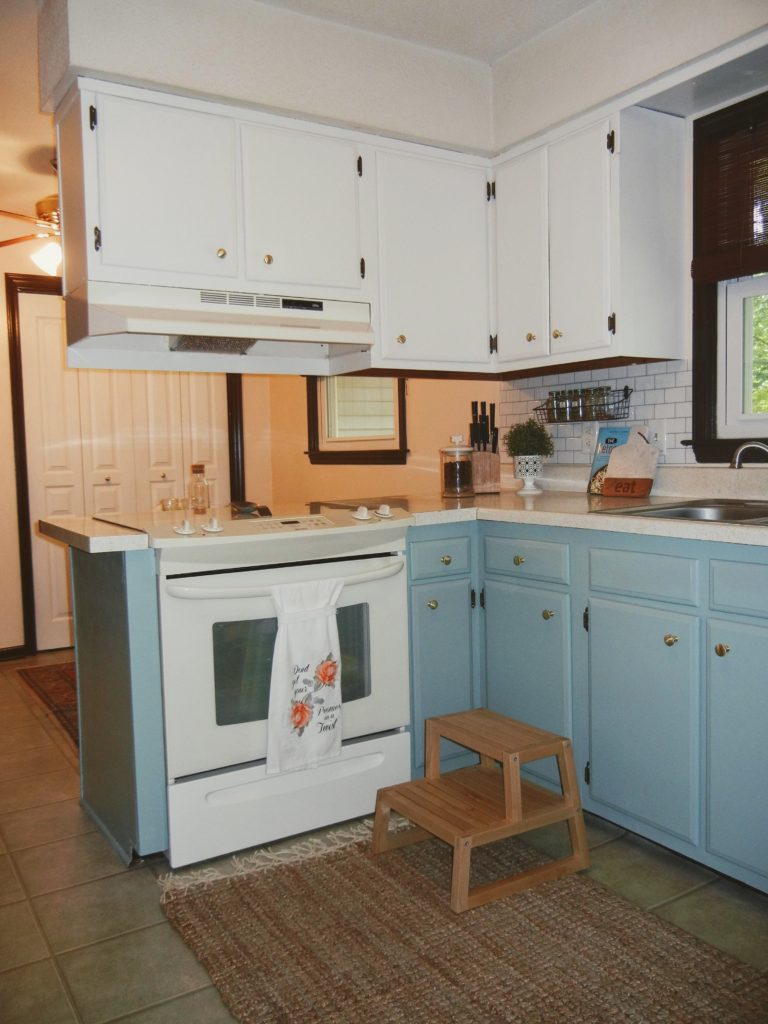
Let me be the first to say..I spent the weeks between the first showing and our move in date obsessing over cabinet colors. I went back and forth what seemed like a million times about the colors I wanted. I was in love with navy for a while, then black, then all white..I even thought about knocking all the uppers down. I KNOW how overwhelming colors are..and that’s coming from someone who does handfuls of paint color consultations a month. Nonetheless, I went back to my original gut instinct – my love of the seafoam-green-blue. I ended up buying Sherwin William’s Bohemian Lace and Halcyon Green. Boho Lace for uppers and Halcyon Green for lowers! I just bit the bullet and did it. I debuted a sneak peak on my Instagram . My advice – go bold. I’ve only ever regretted being too safe with my decor 😉
Backsplash decisions.
Ever since I started thinking about a kitchen makeover, I knew I wanted subway tile. I’ve always loved the classic and clean look, and felt it went with so many styles. My style has changed slightly over the years, so I knew if I wanted to switch out the kitchen decor in the future, that subway tile would still look amazing! That being said, my $400 budget obviously didn’t allow for real subway tile and labor so I had to get creative. I knew about peel and stick backsplash, but was super skeptical…until I found Tic-Tac tile. This product changed my life (okay that’s an exaggeration..but I HEART IT) So I ordered a bunch of the subway tile product and slapped it up on the wall..and I have no regrets. Check out a more detailed blog post I wrote on this process and where to buy it here.
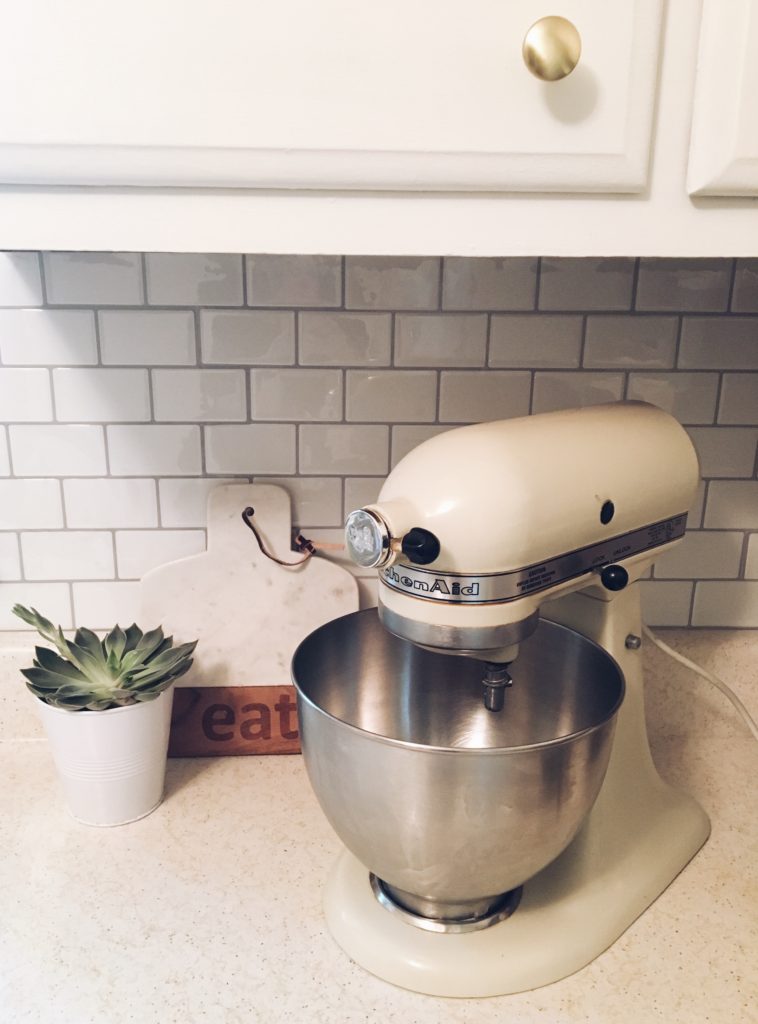
Brushed Brass everywhere.
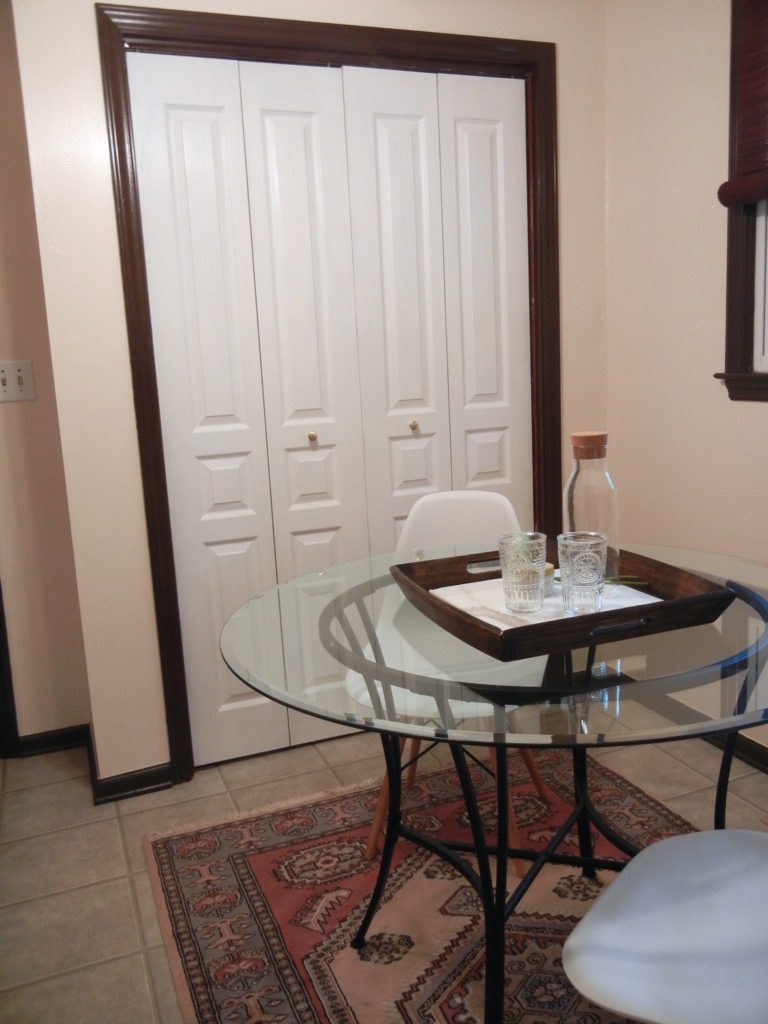
I love brushed brass, aka brushed gold. My kitchen already had specks of gold in the 1974’s Formica countertops, so instead of fighting it, I just played it up. I bought a simple light fixture and brushed brass hardware from Amazon for the kitchen, and used the knobs everywhere, including the pantry doors. Check out the Brush-Brass Globe Light for $36.00 and the Brushed Brass Knobs
– they are holding up like they were a million bucks..and they were pennies!
It’s all in the details!
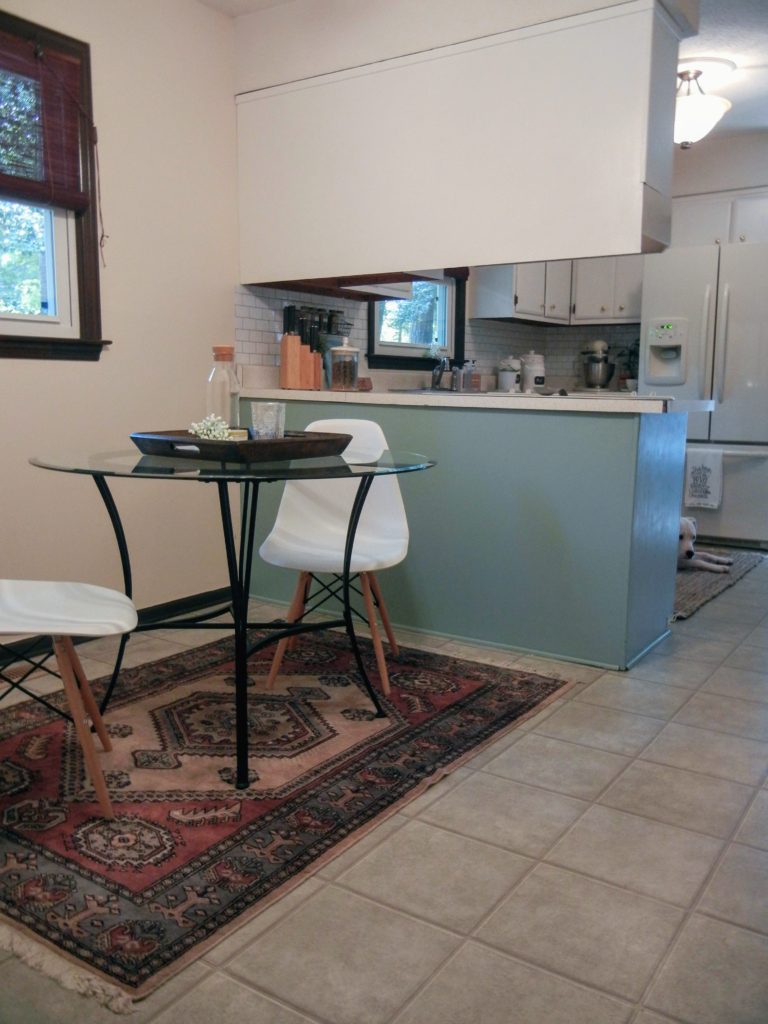
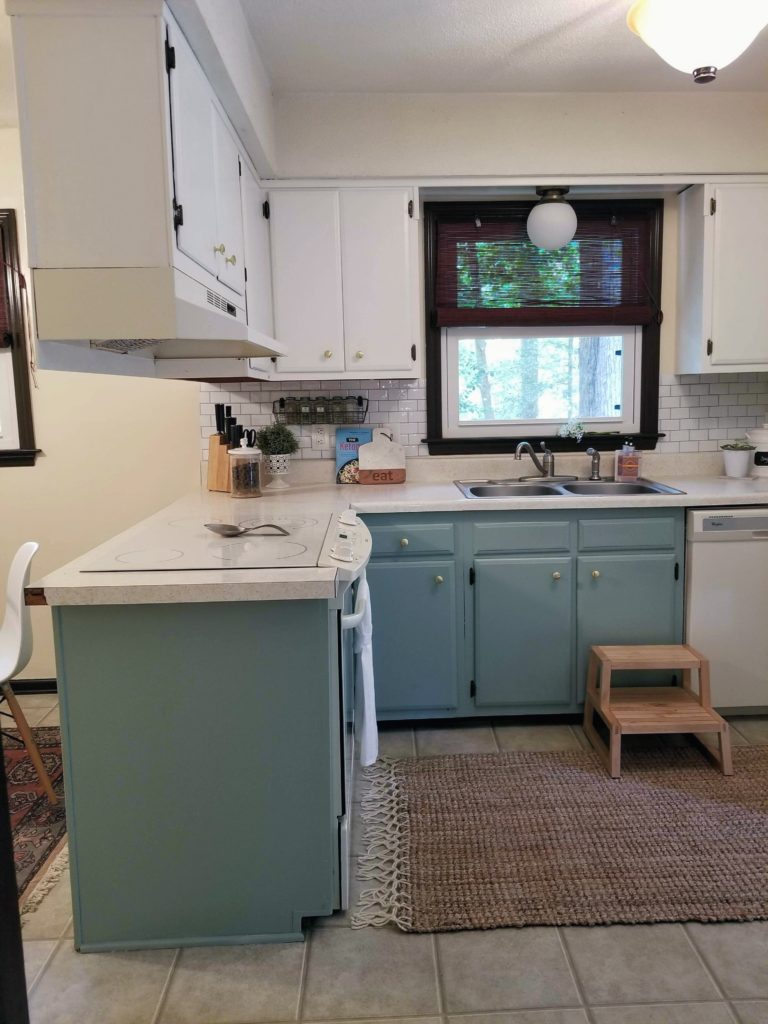
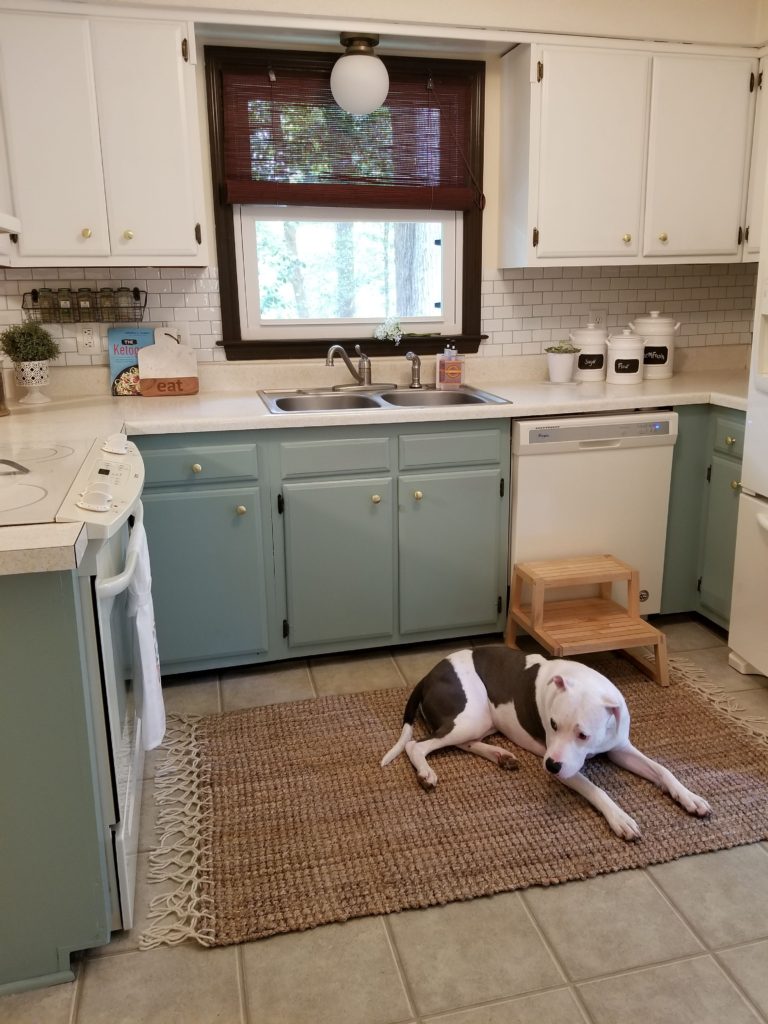
This kitchen came together very simply once I had a vision for a bright and cheery space. I didn’t want to fight the style of the house, but go with it instead. Ya feel me?
After painting, changing hardware, changing lighting, and adding finishing details, the older countertops and white appliances almost seemed intentional. The details that made this kitchen come together were the little touches, like the spice rack I hung on the wall near the stove, and the rug. I am a rug addict. I love a good rug – so I made sure to add a durable and pet friendly rug in my kitchen. I don’t care for the vinyl tiles – however neutral they are – I wanted them covered. I’ve always loved nuLoom rugs, and after much research, I found a perfect rug for our space. Of course – it’s from Amazon too! If you haven’t check out nuLoom rugs yet – I highly recommend them, especially if you have pets! Check out the nuLOOM Hand Woven Fringe Area Rug in my kitchen! (Best part – it was under $50)

I know you’re curious – how was this done all for under $400? Let me break the cost down for you:
- Paint & Primer $65
- Paint Supplies $20
- New cabinet knobs $30
- Light Fixture $25
- Backsplash $90
- Area Rug $48
- Pantry Doors from ReStore $5
- Woven Roll Shades $40
- Spice Shelf $8
- Accessories $40
Total: $371
Before & After
I’m not entirely finished- I am very happy with how much I completed however in one month. I still would like to paint the walls a brighter white, and paint the trim white, but for now, I’m pretty thrilled with my thrifty kitchen remodel. What do you think of it?
SEE MY KITCHEN REMODEL FEATURED ON APARTMENT THERAPY!
*Disclosure: This post contains some affiliate links, meaning at no additional cost to you if you click through and make a purchase, I will earn commission. The opinions are completely my own, and I only refer to products that I absolutely love and have tested*


12 Comments
What a difference with such a small budget! I love it!
Thank you Mackenzie! It was so much fun to do!
Well done on such a good transformation on a small budget. Can’t wait to see some more.
Thanks Michelle! I can’t wait to showcase more of my home!
Love it, love it! Looks great, can’t believe for just $400 what a difference, wow.
Thank you so much! It was definitely my best thrifty makeover to date!
Beautiful job!! Your kitchen looks fantastic. I have an older home, too. It has great bones and it’s slowly being renovated. It’s so much fun making a house a home, isn’t it?
It’s so fun! I love old homes, there is so much character and fun things to do to older homes.
This is awesome! I cannot wait for you to come here and help me!
Thank you! I can’t wait either 🙂
Your kitchen looks absolutely amazing! Can’t wait to redesign mine!
Love,
Claudia http://thatsmeonline.net
thank you love!