

So maybe you remember me bragging about this amazing solid oak dining table I found on Facebook Marketplace a few weeks back. I went to pick it up – and drove 30 minutes down the highway with my SUV trunk open to haul this beast home.
This table is solid, through and through. And it had that oak-y orange-y polyurethane glow that just made me want to sand it right away! However the table came from a smoking residence, so it smelled strongly of cigarettes. The minute it entered my house, I doused it in vinegar, and once that was dry, I covered the entire table in baking sofa…and left it like that for 3 days. I was not playing around!
Those two tricks worked and removed the smoke smell completely! I was finally ready to get to work on this diamond in the rough. Check out the table below! (Before)
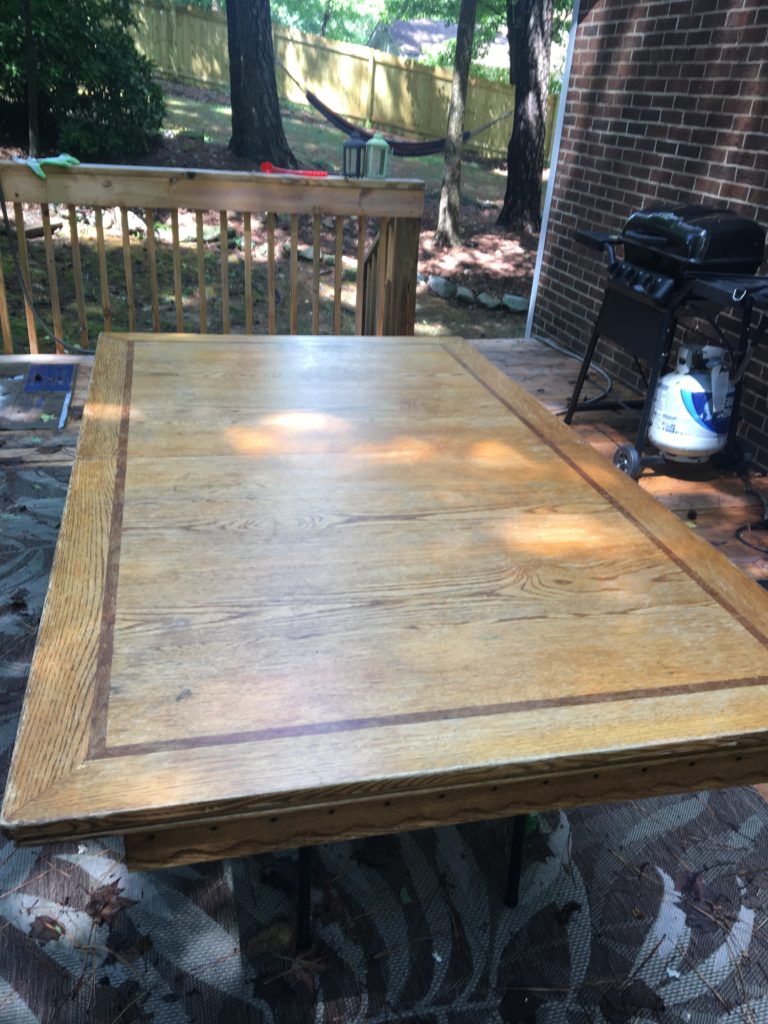
I had not given much thought to what kind of dining table I wanted – to be honest I was just excited to have a table. Brian and I had been dining off a small 36″ round glass table for the last two years, and I was over the moon when I found this one for $50 online. Not only could I know have family over for dinner, play games, and finish my dining room, but I could make it over however I wanted.
I’ve been a lover of barn wood, driftwood, and all things weathered, as you know! So once I had it in my head that this was the look I wanted to go for, I researched the heck out of how to get an oak table to look like weather grey wood. Lime-washing come up a lot, but it was overly complicated for me (I’m a girl of simplicity) so I decided I would just find a stain that emulates weather wood.
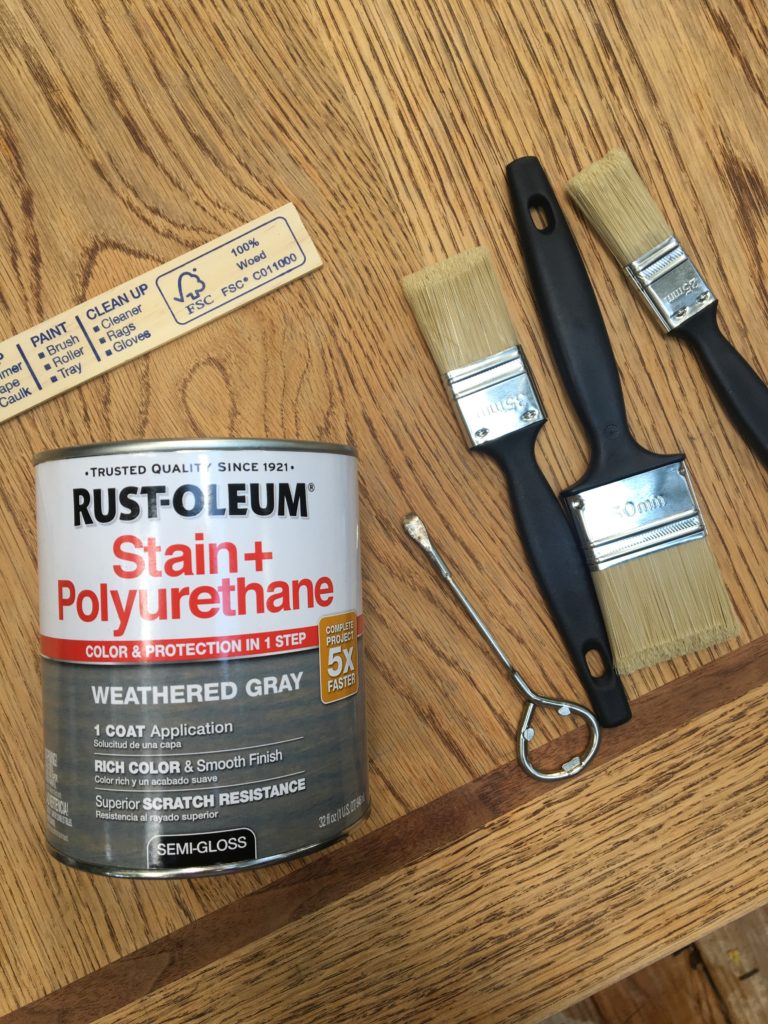
I found Rust-oleum’s weathered grey finish stain + sealant all in one at the hardware store and I was so excited. You can find it at Home Depot and Walmart.
WHAT YOU NEED:
- Quality stain brushes
(Amazon has great deals!)
- Rust-oleum Weathered grey stain + poly
- Electrical Sander (I swear by this Mouse Detail Sander
for $25)
- Lint Free Rags (I get mine in bulk here
)
- Eye protection and dust mask
Here are the steps I followed:
Clean it: After scrubbing the table with vinegar, it was pretty clean, but before you start sanding, you want to make sure there is nothing like sticky residue or anything like that on the surface.
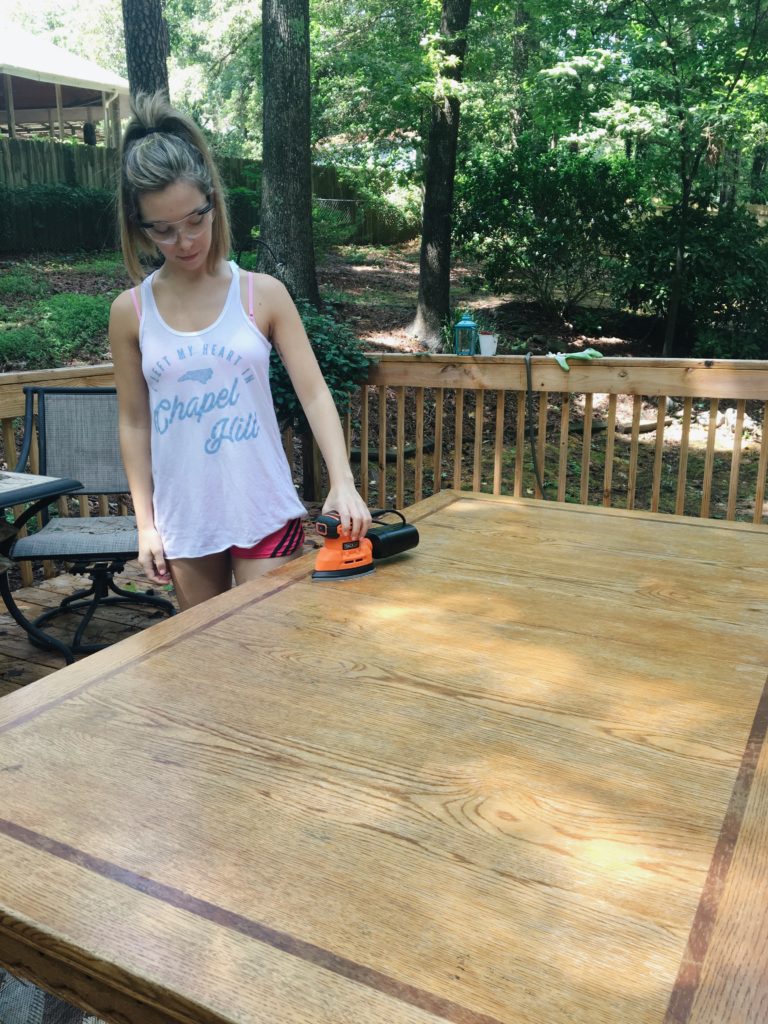
Sanding: I decided to start sanding the table on my deck on a day that it hit 92 degrees outside. In North Carolina. Needless to say, it was a bit rough (but so worth it!) It took about 3 hours to sand the entire table with my electric sander, while Brain used sheets of sand paper to sand the legs (which were all curves!)
I sanded the table until the gloss was completely gone and the orange oak color was muted. You want the surface to be even, especially if your table is older like mine, there are things that need smoothed out (like the edges and sides)
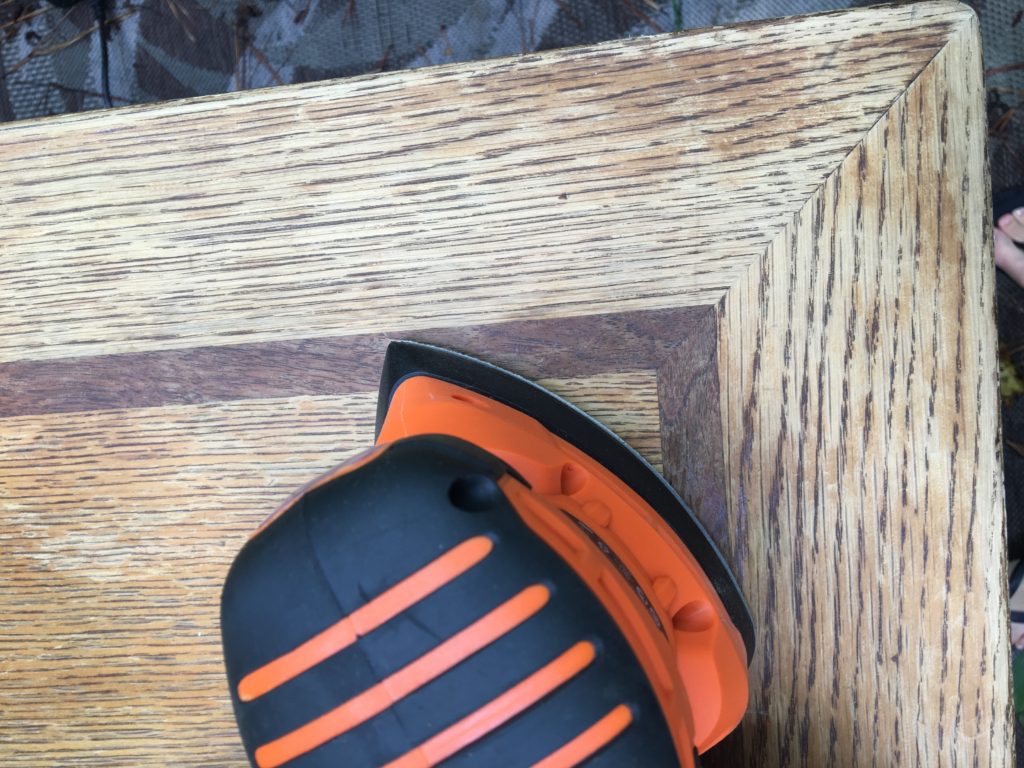
Clean again: I wiped the table down again after I felt I had sanded enough. This allowed me to see some spots that still needed sanded, and got it ready for the stain!
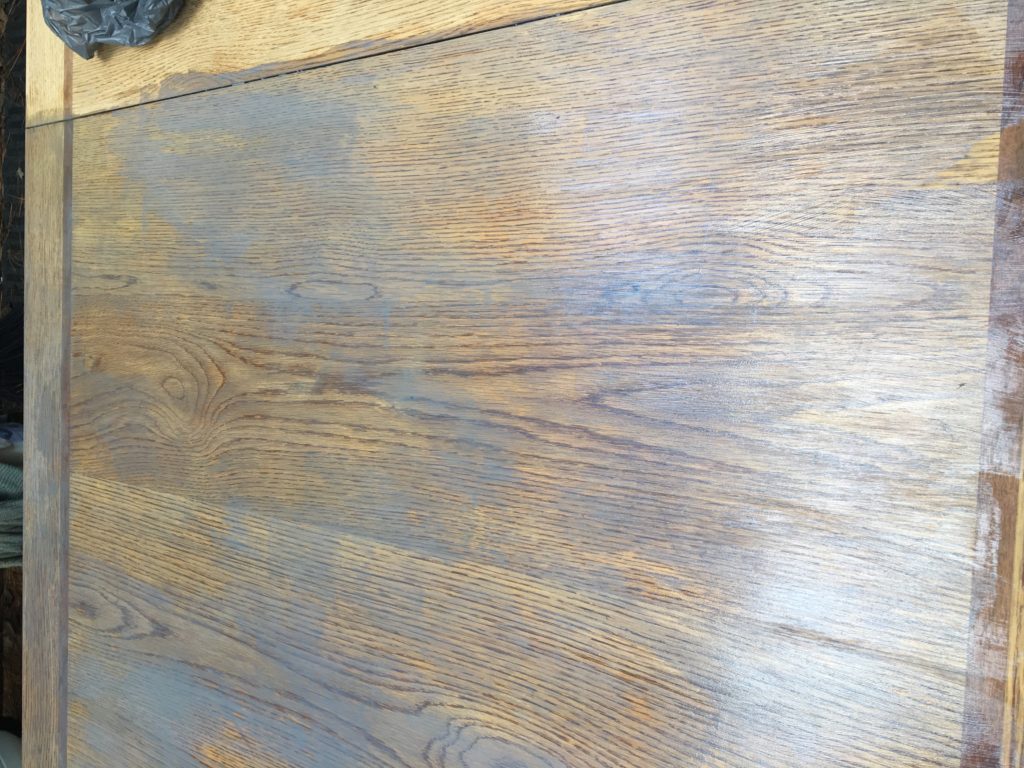
I was really nervous when I first opened the Rust-oleum stain because it had a purple tint to it, which was not what I wanted. I started to apply it with the medium-sized stain brush, going with the grain. This stain dries pretty fast, so I had to work quickly to avoid streaks.

At first, I was being very sparring with the stain, but the table was absorbing a lot of it, so I started to lay the stain on thick – which is when I started to see the color I wanted (seen below). What you want to avoid is puddling of stain, because this isn’t the kind that you wipe up, once its on, you have to sand it out. I only did one coat of stain (but thick) and waited for it to dry.
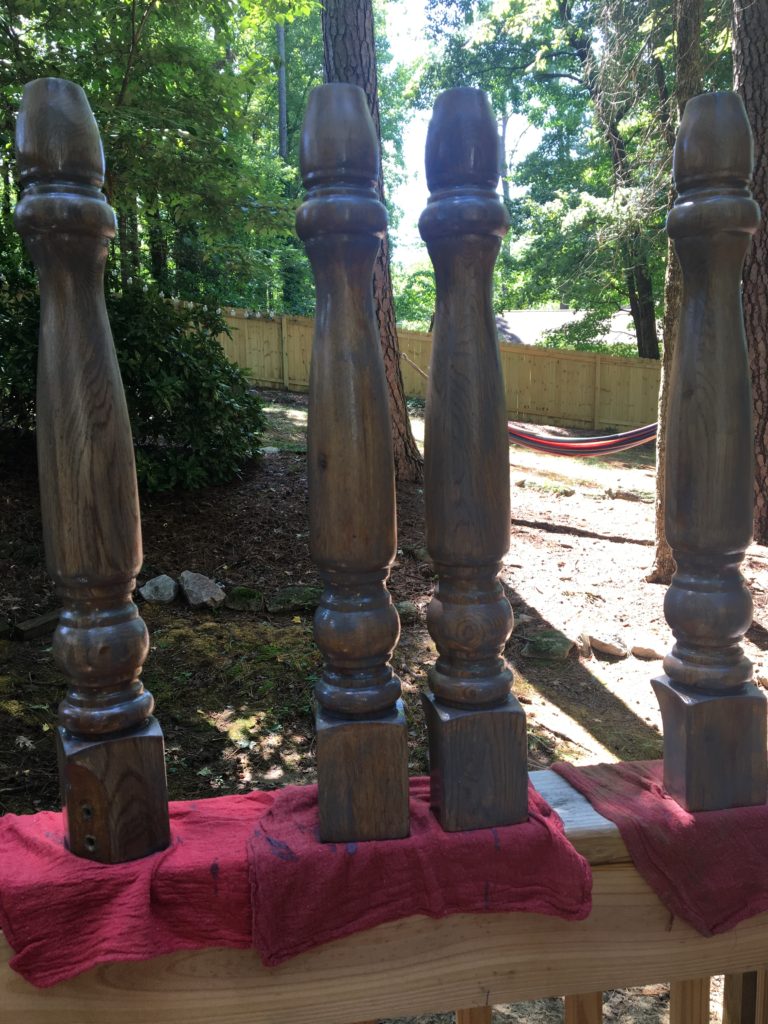
I repeated the stain process with the legs – which I have to admit, I did sloppily. Maybe it was because I had been on my deck doing this for 6 hours, or because it was 92 degrees out, but luckily the legs didn’t turn out too bad.
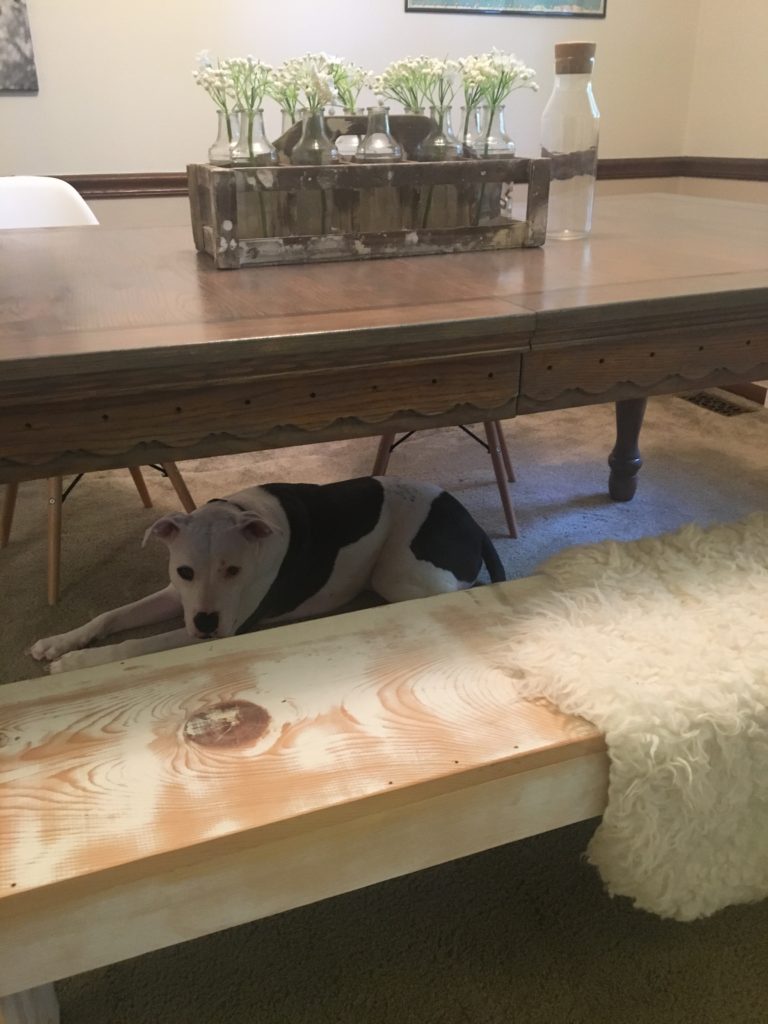
The table was completely dry and ready to reassemble after 2 hours (I added an hour because it’s very humid where I live). Once I got the table inside and set up, I was thrilled with the color. Not only did it look like a new table, but the table looked aged! It looked like the weathered oak table that I had drooled over when window shopping at Restoration Hardware.
And for $50 (table) + $10 (stain) – you can’t beat it!
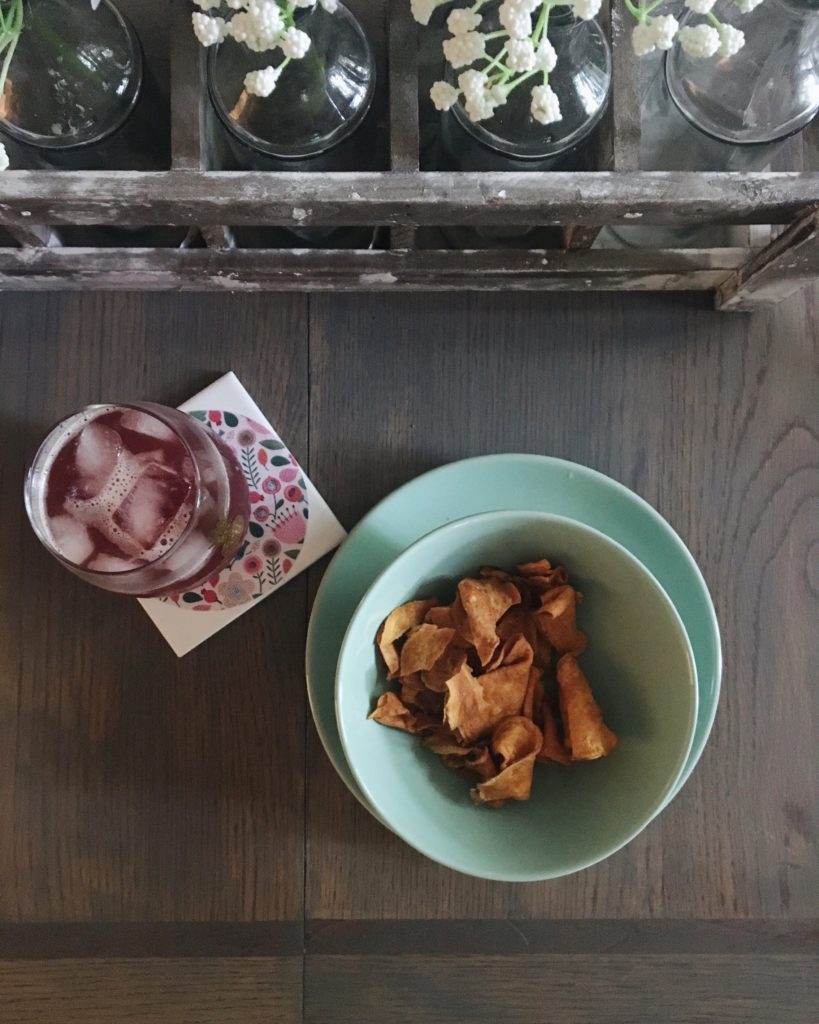
The best part about this makeover was it was able to be done in one afternoon, and there was no extra steps. I didn’t have to seal the table or prime it, it was ready to be eaten on and cleaned in one simple step! The picture’s don’t do the table justice – there will be better ones once the dining room is complete, so stay tuned and check back!
Let me know what you think and tag @myeclecticgrace on Instagram if you redo a space because I love to see my budget DIY-ers work!

2 Comments
I’m really curious how the weathered gray oak Table turned out?
I am starting A similar project and I want to know if you’re All in one stain was effective?
Thanks!
It worked really well! It holds up really nicely