
At I sit here, writing my blog post at my newly built DIY wood desk, I’m so excited! Maybe it’s the fact that I worked from home from a 30″ child’s desk for 2 years or the fact that this crate desk turned out better than I ever expected it too!
Sometimes I go into DIY projects just hoping for the best, because i’ll be honest, as many DIY wins i’ve had equals how many DIY fails I’ve had too. Live and learn baby, right? I am the kind of person who spreads out all my papers, has about 10 mugs on my desk, and two monitors going at all times, so I need a desk that was long. I scoured the stores and online sites, only finding cheap looking computer desks that spanned over 60″ OR desks ranging in the $3 – 5k range – so I knew I had to get crafty.
Crates & Old Wood?
I’ve always loved reclaimed wood, crates, vintage wooden items, industrial things, etc. You get it! One day as I was mindlessly shopping at Michaels Craft Store (so just another Monday) I came across their crates, $10 a pop, and thought, those would make great shelves. A few more trips to the thrift door and salvage yard, and I had enough crates, lumbar and hardware to craft a desk that would work for me. The way I constructed the DIY wood desk was all through trial and error, but now that it’s been in my pace for a little other 6 weeks, it’s worked perfectly for my needs and I wanted to share it so you can built it too!
material list & price
- 6 crates (I bought mine from Michaels for $10 each)
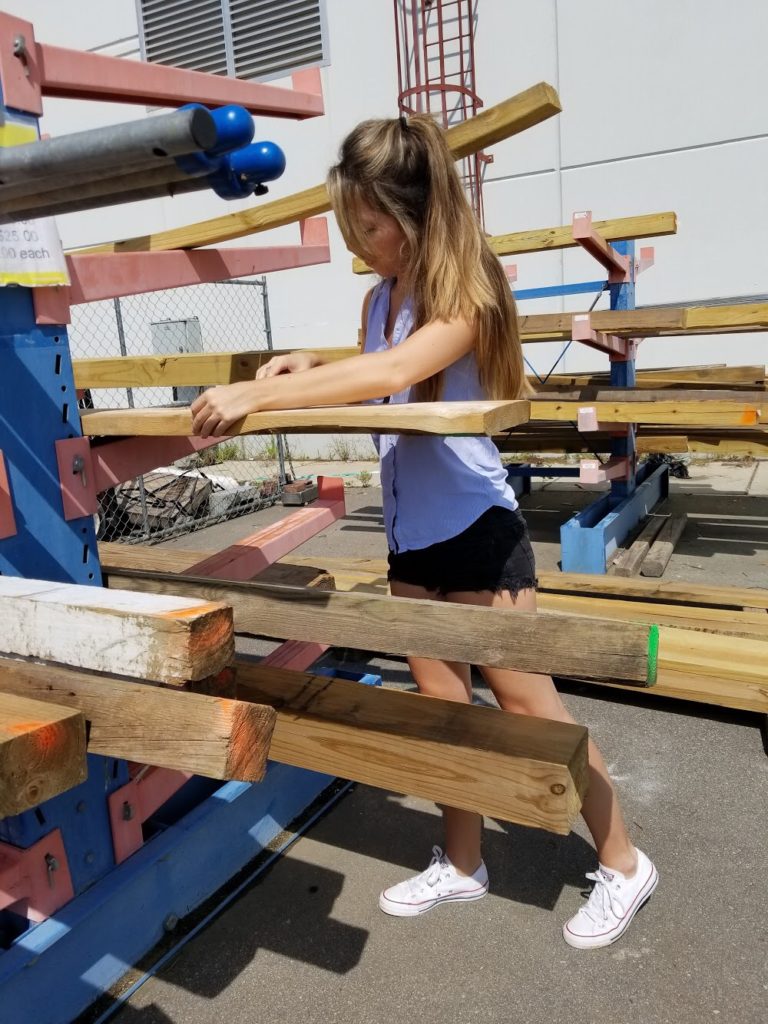
- 2X 8″ x 2″ lumbar planks (got mine from a lumbar salvage yard for $3/8ft)
- 4″x4″ lumbar piece – 6″ ($7 at Home Depot)
- 8X 2″ screws
- 32X 1/2″ screws
- 2 metal L-brackets
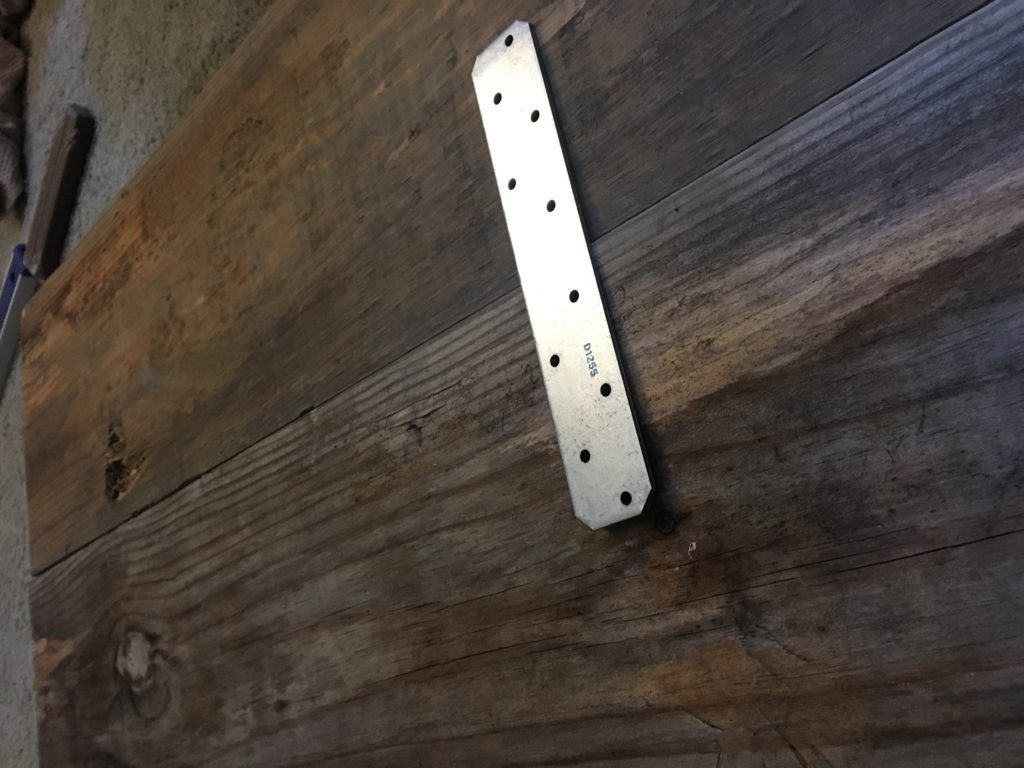
- 2 Straight Mending Plates
I built the entire desk in one afternoon for roughly $80!
Step by Step Guide for my DIY Wood Desk:
I had two 8′ lumbar planks and I cut them to 7′ each – this was how long I wanted the desk to be – [you can customize the size for your needs!]
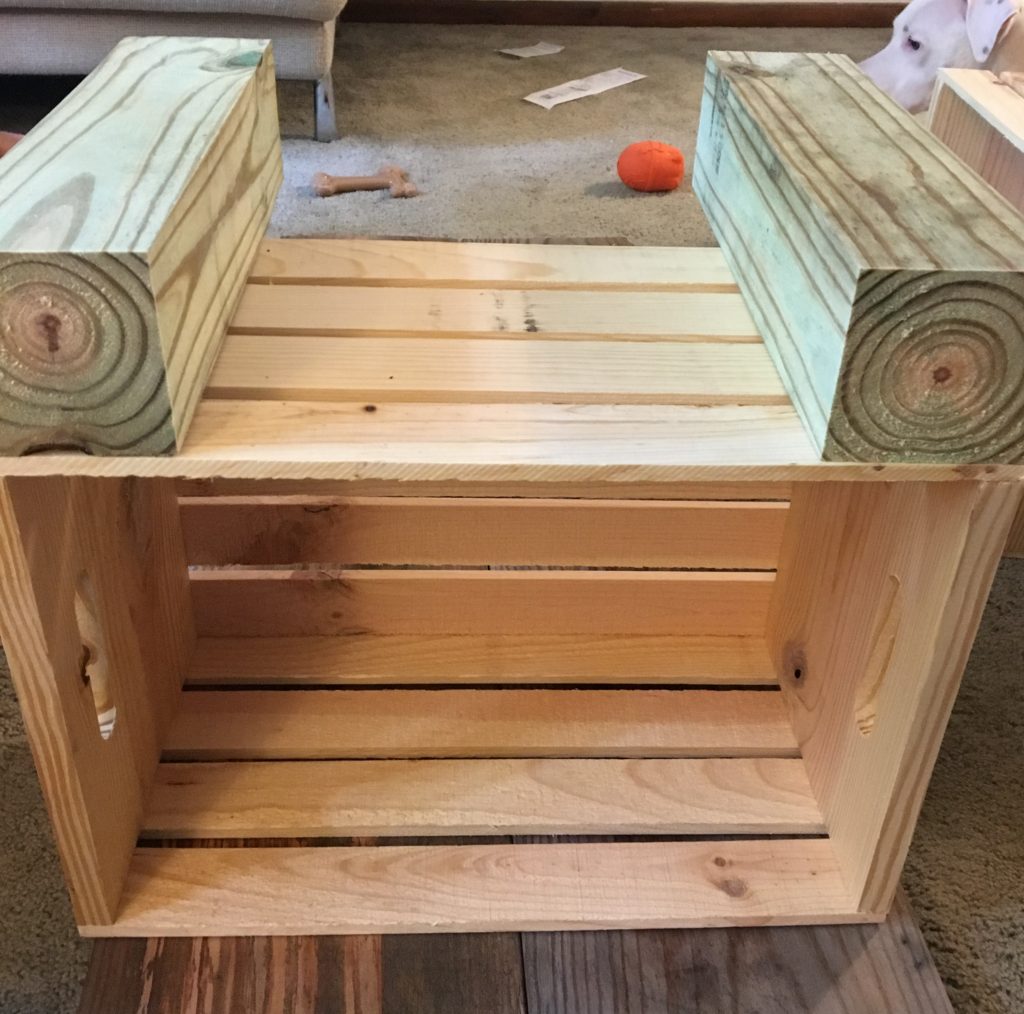
I got the 4×4 lumbar planks cut at Home Depot into 15″ sections. These are what the crates are resting on – acting as feet.
They add stabilization and height – without them the desk wouldn’t be height enough (34 inches in height)
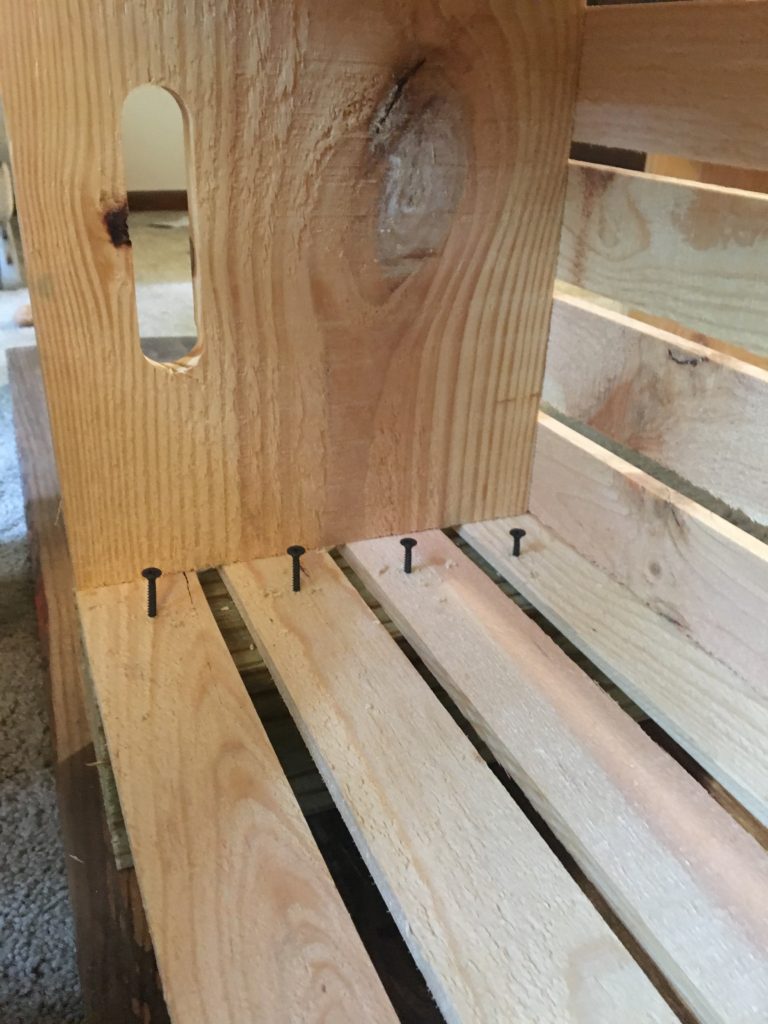
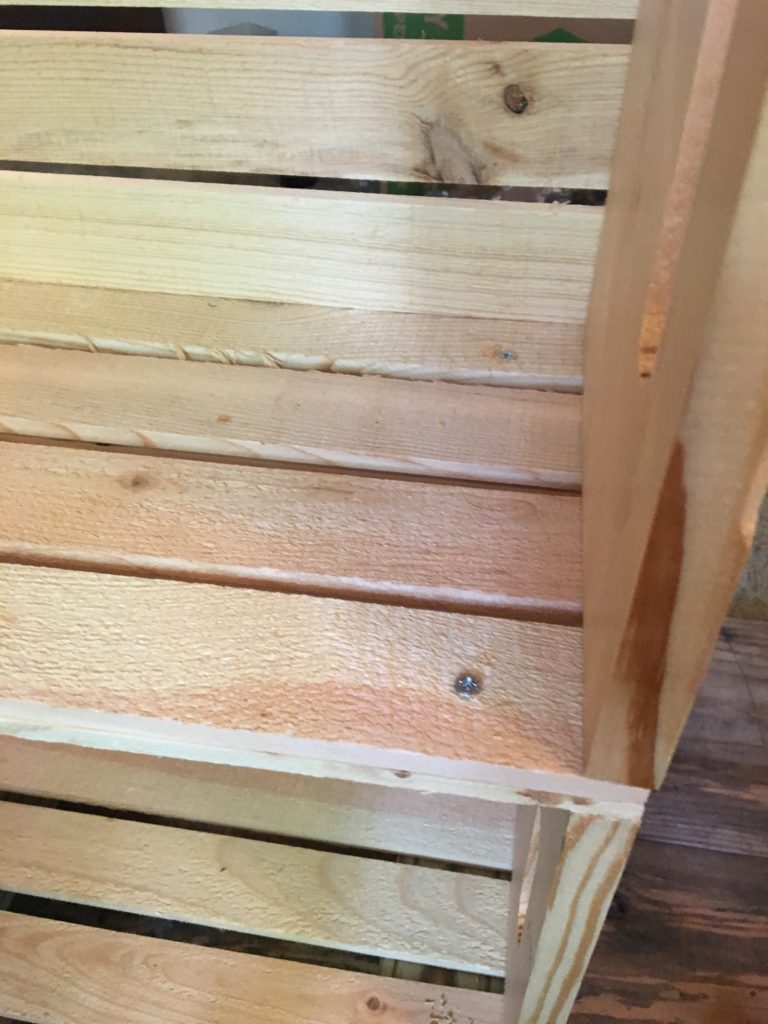
Add the 15″ planks on each end of the bottom crate, and screw it in from inside the crate with the 2: screws(1 on each inside corner). There will be excess wood – which is what stabilizes the desk from tipping – and this will be in the back of the crates.
Once you’ve done that to both bottom crates – you will attach the other crate on top of the bottom crate. Line it up so everything is symmetrical and use the 1/2″ screws to attach them. You want them to be secure because this is what will be hold the desk up.

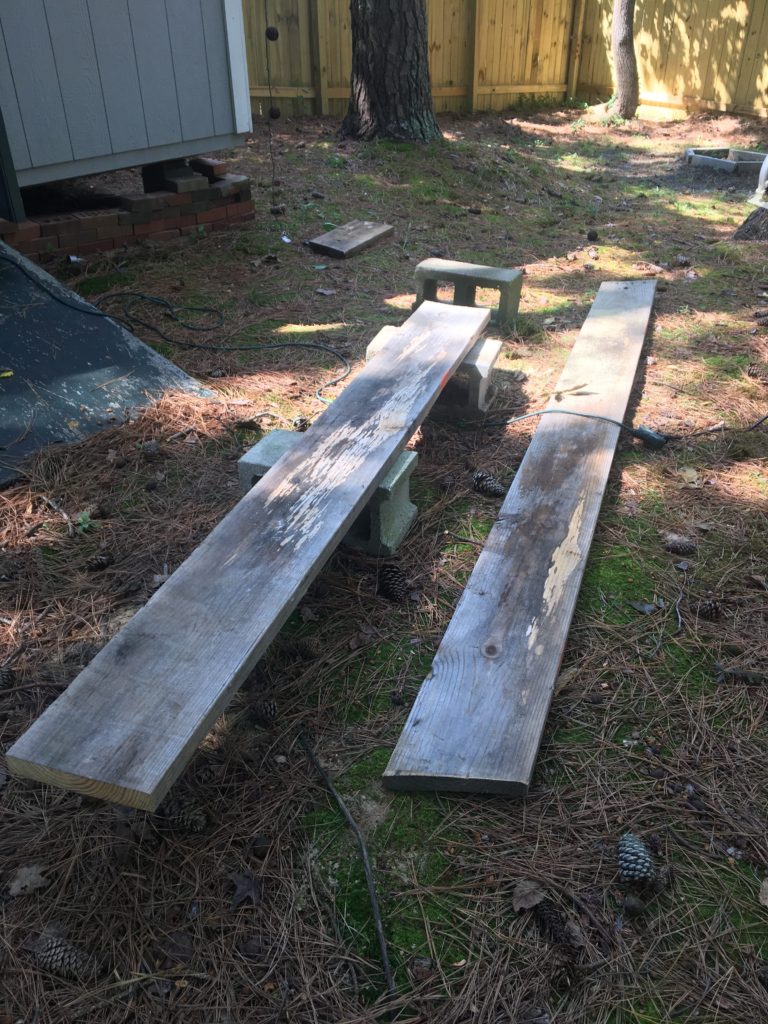
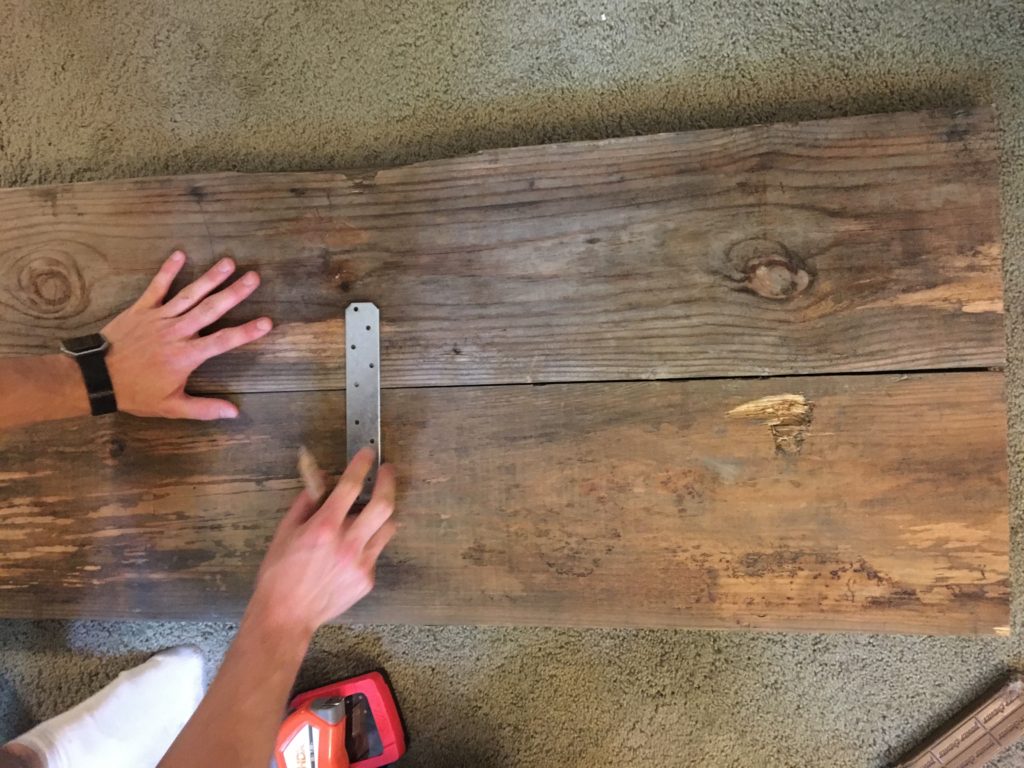
After this is done on both sides, I attached the top of the desk. This was the tricky part. Because the pieces were from a salvage yard, they were slightly warped. I lined them up on the floor – bottom side up. I used two mending ties to secure them together, making sure that the ties were not where the crate stacks would be attaching.
Then I attached the crates – I flipped them upside down and put them towards the end – with a 2in overlap in the front and on the sides. This gave the desk a balanced look and physically make it stand without tipping (it’s a heavy desk!) Using the 1/2″ screws again, I attached the crates to the planks which would make the desk-top at 4 interior corners.
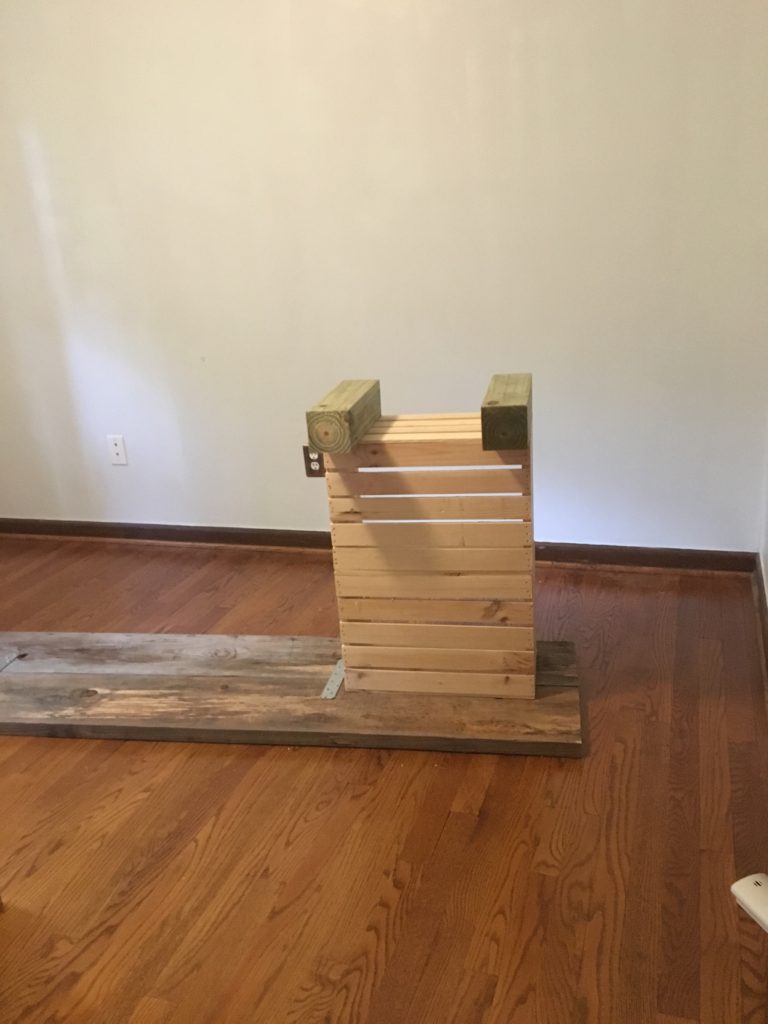
I would suggest construction this in the space it will end up in – it’s pretty challenging to move a desk this size. Once is was constructed and sturdy, I flipped it back over and placed it on the wall where I want. I used the two L-brackets to attach the back of the desk top to the wall. This is just an extra precaution I wanted to take because I would make a lot of heavy items on it, and without securing the back plank to the wall – it seemed a bit weak.
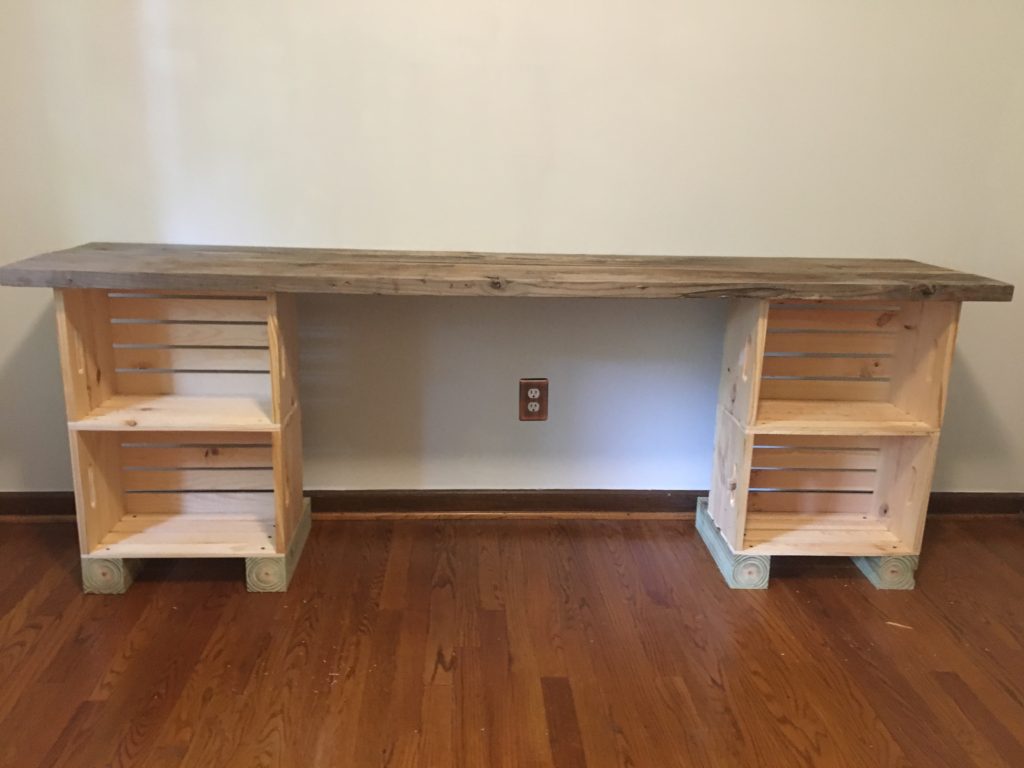
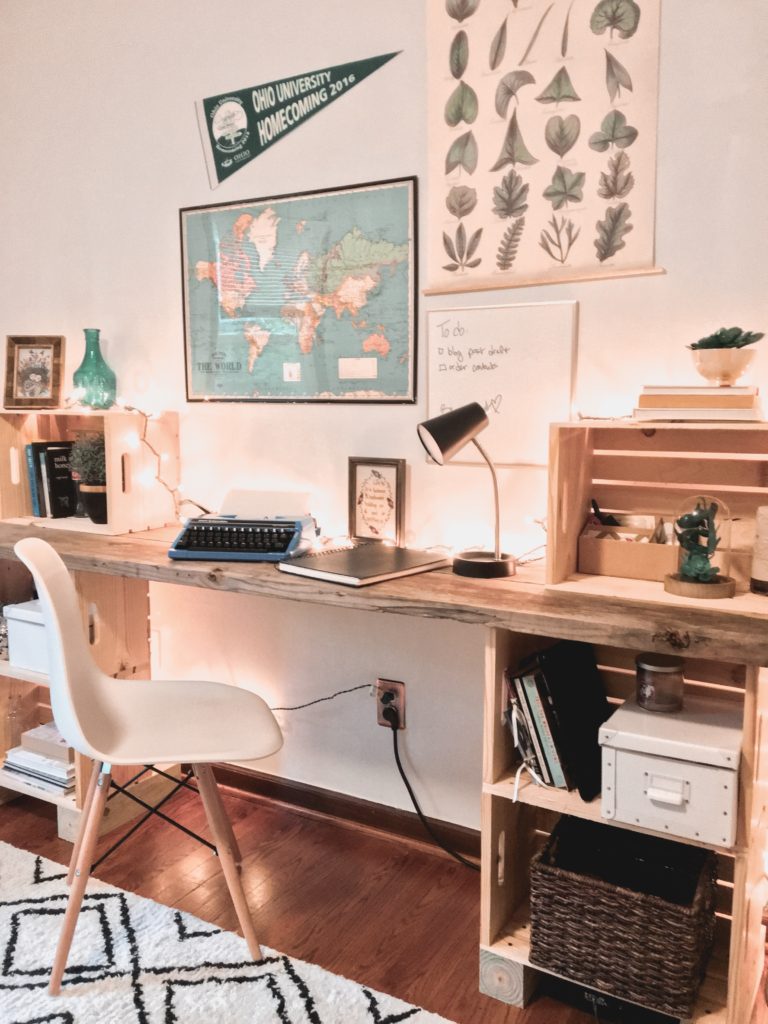
Then I stacked the 2 remaining crates on top! In the future if I need more storage, I will just stack another crate.
The wood is different colors, and I thought about staining it all to match, but I really like the character the salvaged wood has. You could use salvaged crates for this project to make it all uniform – just make sure they are in good condition.
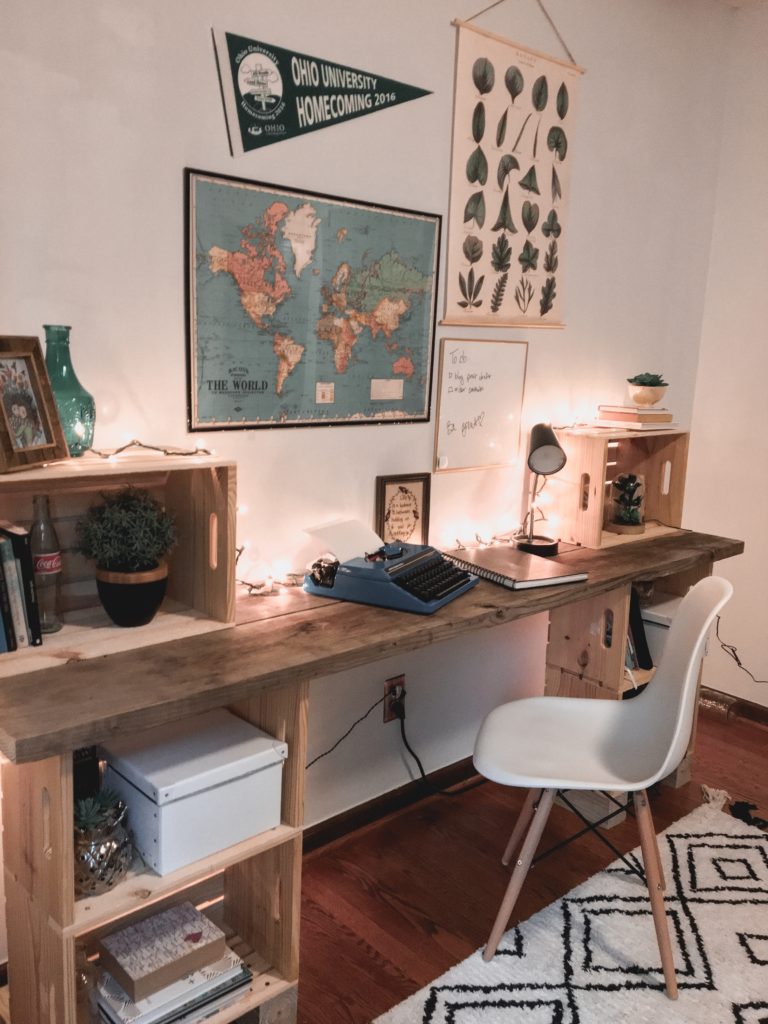
Final Product!

Like this project? Pin it for later! And follow me on Pinterest & Instagram for more office space & DIY inspiration!
Want to know where I bought the accessories and artwork for my office space? Click here for the shopping list!


3 Comments
What are the final dimensions of your desk? I love it!
I made this desk over the weekend! I love it! I had a smaller space where it would fit so I turned the wood crates toward each other/toward the inside of the desk where my feet go, for hidden storage, and I also used a 24×48” panel for the top! Thanks so much for sharing!
Hey Tara! That is so cool, thank you for sharing! I’d love to see a photo of how it turned out 🙂